The Half Rectangle Triangle: Small Block, Big Impact
The Quiet Power of the HRT
Some quilt blocks quietly do everything, and the Half Rectangle Triangle (HRT) is one of them.
At first glance, it looks simple—just a rectangle divided on the diagonal. But don’t let that fool you. The Half Rectangle Triangle block is a design powerhouse, capable of creating movement, direction, and a surprising amount of variety with just a few fabric choices and layout tweaks.
What Is a Half Rectangle Triangle?
A Half Rectangle Triangle (HRT) is exactly what it sounds like: a rectangle made from two contrasting fabrics, split diagonally from corner to corner. Unlike Half Square Triangles (HST), Half Rectangle Triangles have a longer side, which gives them a built-in sense of direction and motion.
That subtle difference opens up a whole new world of layout possibilities. Because HRTs naturally point in a direction, you can create quilts that feel dynamic and full of movement—even with just a single block shape.
HRTs also work beautifully for both bold, graphic designs and soft, subtle layouts. Use high-contrast fabrics for a modern, energetic look, or stick with low-contrast prints to create a gentle, flowing effect reminiscent of vintage quilts.
It’s one of those blocks that rewards play—and sometimes the most interesting designs happen when you start rotating pieces on the design wall just to see what happens.
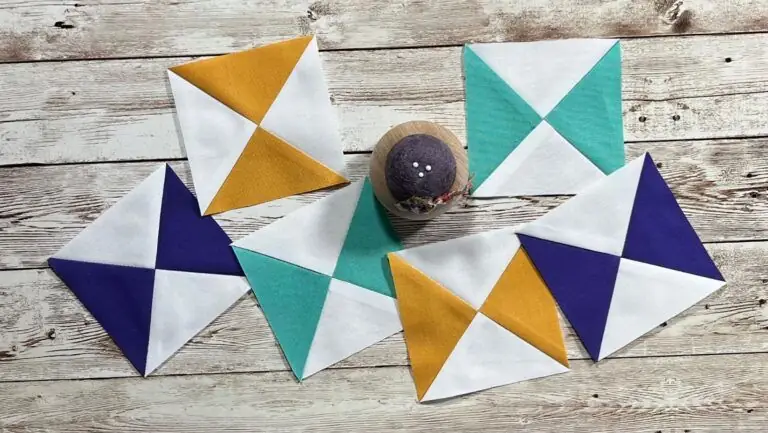
Here are a few beginner-friendly ways to play with HRT layouts:
- Chevron or Zigzag: Line up all HRTs in the same slant direction to create a bold chevron stripe across your quilt.
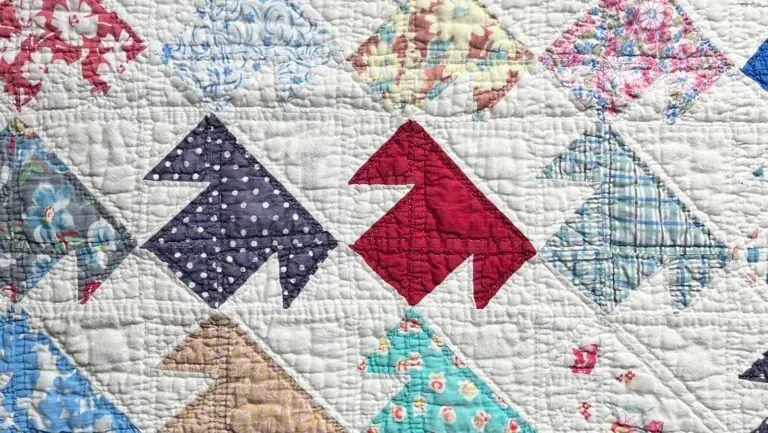
- Arrow Patterns: Alternate the slant direction in each row to form arrows that point across the quilt.
- Pinwheels: Rotate four HRTs around a central point to make a classic pinwheel block.
- Woven Look: Arrange HRTs in a staggered or brick-like pattern to mimic a woven texture.
- Diamonds: Arrange your HRTs so that the matching colors or fabrics come together at the center, forming a diamond shape. Pay attention to the slant of each triangle—rotating them correctly will make the diamond pattern pop across your quilt top.
- Stripes: Arrange your HRTs so that they form diagonal stripes across your quilt top.


The versatility doesn’t stop there—HRTs play well with other blocks too. Pair them with squares, rectangles, or HSTs to create secondary patterns, borders, or complex quilt motifs without adding complicated piecing.
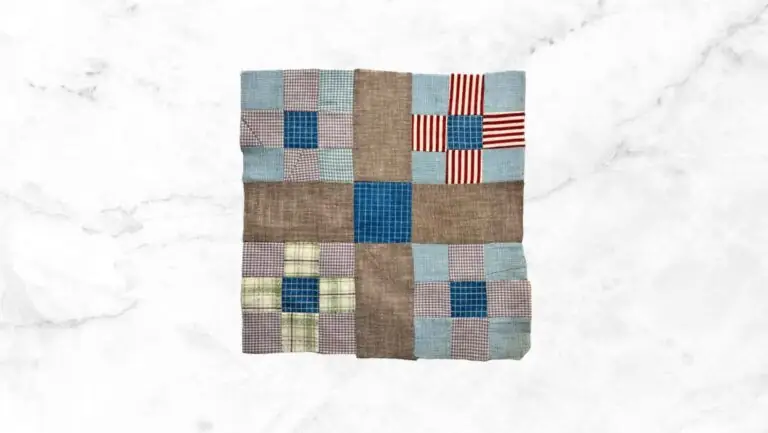
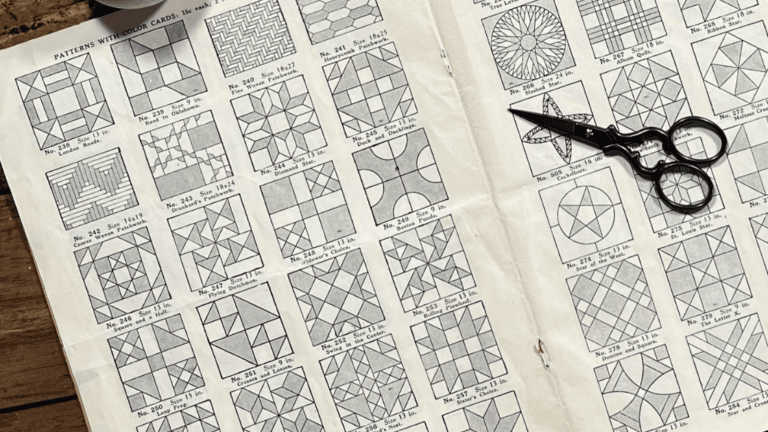
Half Rectangle Triangles in Vintage Quilts
While the HRT feels like a very modern block (especially when you consider the layouts above) it has been used by quilters for a long time. You’ll find this block tucked into plenty of vintage quilt blocks, often used as leaves in classic flower blocks like Magnolia Bud, Nose-Gay, and Bouquet in a Fan.


It also shows up in bolder layouts, including blocks like President Carter, Utah Star, and Bow Knots.


Half Rectangle Triangles are actually quite easy to make—they just require you to think a little differently than the usual piecing, which is part of what makes them so fun. I’ll show you how to make them below.
A Great Block for Skill-Building
Half Rectangle Triangles are a great skill-builder. They encourage accuracy, careful trimming, and thoughtful layout—without being overwhelming.
Once you’ve made a few, you’ll start seeing them everywhere and imagining how a simple block can transform into something completely different just by rotating or recoloring it.
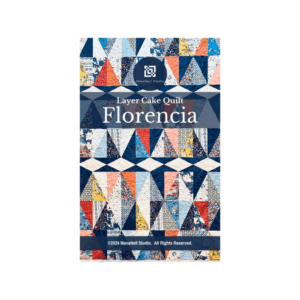
I designed the Florencia Quilt below exclusively with Half Rectangle Triangles—one of my favorite blocks for creating movement and dimension in a quilt. This quilt is a perfect example of how versatile HRTs can be: it comes together beautifully using just a single layer cake and a touch of solid fabric.

What I love about Florencia is how simple it feels to make, yet the finished quilt has a dynamic, eye-catching design that really pops. Even if you’re new to HRTs, this project is approachable and fun—the layer cake provides a ready-made variety of fabrics, and the solids give your design breathing room so each triangle stands out.
Ready to Play with Half Rectangle Triangles?
If you’re looking for a block that’s flexible, visually interesting, and endlessly adaptable, the Half Rectangle Triangle is a fantastic place to start. Whether you’re planning a bold statement quilt or a quiet, texture-rich project, this humble block has a lot to offer.
Grab a stack of fabrics, clear some space on your design wall, and give yourself permission to experiment—you might be surprised by how many different quilts can come from the very same block.
HRTs can feel a little tricky at first because of their asymmetrical shape. Sewing a few triangles together might seem easy, but the real challenge is trimming them so each HRT is perfectly sized and the angles perfectly aligned.
Using an HRT ruler makes a huge difference—tools like the Creative Grids® Half Rectangle Trim Tool take the guesswork out of trimming and help you achieve accurate, consistent triangles every time. The instructions below show how I use the Creative Grids® ruler.
Cut Oversized Rectangles

Decide on your HRT finished size (the size it will be once sewn into the quilt top). Then cut your rectangles as directed by the chart on the ruler.
The rectangles will be slightly larger than needed, so you have room to trim—and the cutting sizes are always right there, no hunting for lost instructions!
For example: I chose to make 4″ x 8″ finished Half Rectangle Triangles. I started with 5″ x 10″ rectangles per instructions on the ruler. Specifically, I used [2] layer cake squares cut in half. Two layer cake squares will yield [4] HRT.
_______________________________________
Prepare Fabric Rectangles

Start by placing one rectangle right side up on your cutting surface. Lay the second rectangle on top, also right side up.
_______________________________________
Cut Rectangles into Triangles

Using a regular quilting ruler, cut from the bottom left corner to the upper right corner if you want a right-slanting HRT, or from the bottom right corner to the upper left corner for a left-slanting HRT. Take your time—keeping the rectangles aligned will make your triangles nice and even.
For this example, I chose to make right-slanting Half Rectangle Triangles.
_________________________________________
Trim Triangle Points

**Pay careful attention to the small diagrams on the ruler for this step – they will help you line up your fabric correctly with the ruler. Watch this video to see it in action.
Line up the [A] guides on the ruler with the skinny triangle points. Trim the point using the guides on the ruler to create a blunt edge.
Repeat this process using the [B] guide to trim the other triangle point.
These blunt edges will make it easier to line up the diagonal edge correctly.
*When completing this step for left-slanted triangles, you will need to turn the fabric wrong side up before using the guides to trim the points.
________________________________________________
Flip Triangles

Flip the triangles on your cutting surface so that the diagonal cuts face each other.
______________________________________________________
Sew Triangles to form HRT

Flip one triangle so that it is lying on top of the other RST along the diagonal side. Use the blunt tips to make sure the two triangles are perfectly aligned.
Pin the pieces together along the diagonal to keep them from shifting while you sew. Using a consistent ¼-inch seam allowance, stitch along the diagonal from one blunt end to the other.
___________________________________
Press Half Rectangle Triangle

Press your HRT. Pressing the seam open rather than to the side will make it easier to sew HRT units together since seams can get bulky.
__________________________________
Trim Half Rectangle Triangle

Use your HRT ruler to trim your unit to the correct size.
The ruler includes guides for both left-slanted and right-slanted Half Rectangle Triangles. Choose the one based on the type of HRT you made.
Line up the diagonal guide on the ruler with the diagonal seam on your block. Slide the ruler along the seam until there’s a little extra fabric on all sides or the ruler is at least flush with the fabric.
Once everything is aligned, trim away the excess fabric to create a perfectly sized HRT.
___________________________________________
Tools:
- Creative Grids® Half Rectangle Trim Tool
Materials: Fabric cut to size
Ready to Master Half Rectangle Triangles?
The Creative Grids® Half Rectangle Triangle Trim Tool is a must-have quilting ruler for anyone who wants to create accurate, professional-looking HRTs. With this tool, you’ll spend less time unpicking seams and more time enjoying the creative process!
Watch the ruler in action with this video from Creative Grids®.