How I Created My Own Quilt Library
I love watching online quilting tutorials and Missouri Start Quilt Company is probably my favorite YouTube channel. I normally sew or cut fabric while ‘watching’ these videos. This one made me stop what I was doing and pay attention.
THE WRONG WAY TO FOLD A QUILT
Once you start making quilts, you soon hear that there are ‘right’ and ‘wrong’ ways to fold a quilt. Lots of folks told me it was not a good idea to fold a quilt in quarters like a bedsheet and leave it for a long time. But no one ever demonstrated how a quilt should be folded or bothered to explain. ‘Just make sure you fold on the bias’ was the warning tossed out there.
The alternative, these well-meaning quilters said, was unfolding and refolding each quilt a different way from time to time. I could do that. I ended up storing my quilts in a cedar chest that my grandfather made for my mother though. So, folding and unfolding became a chore, and I could not easily see my quilts. I quickly forgot to fold and re-fold.
THE BEST WAY TO FOLD A QUILT
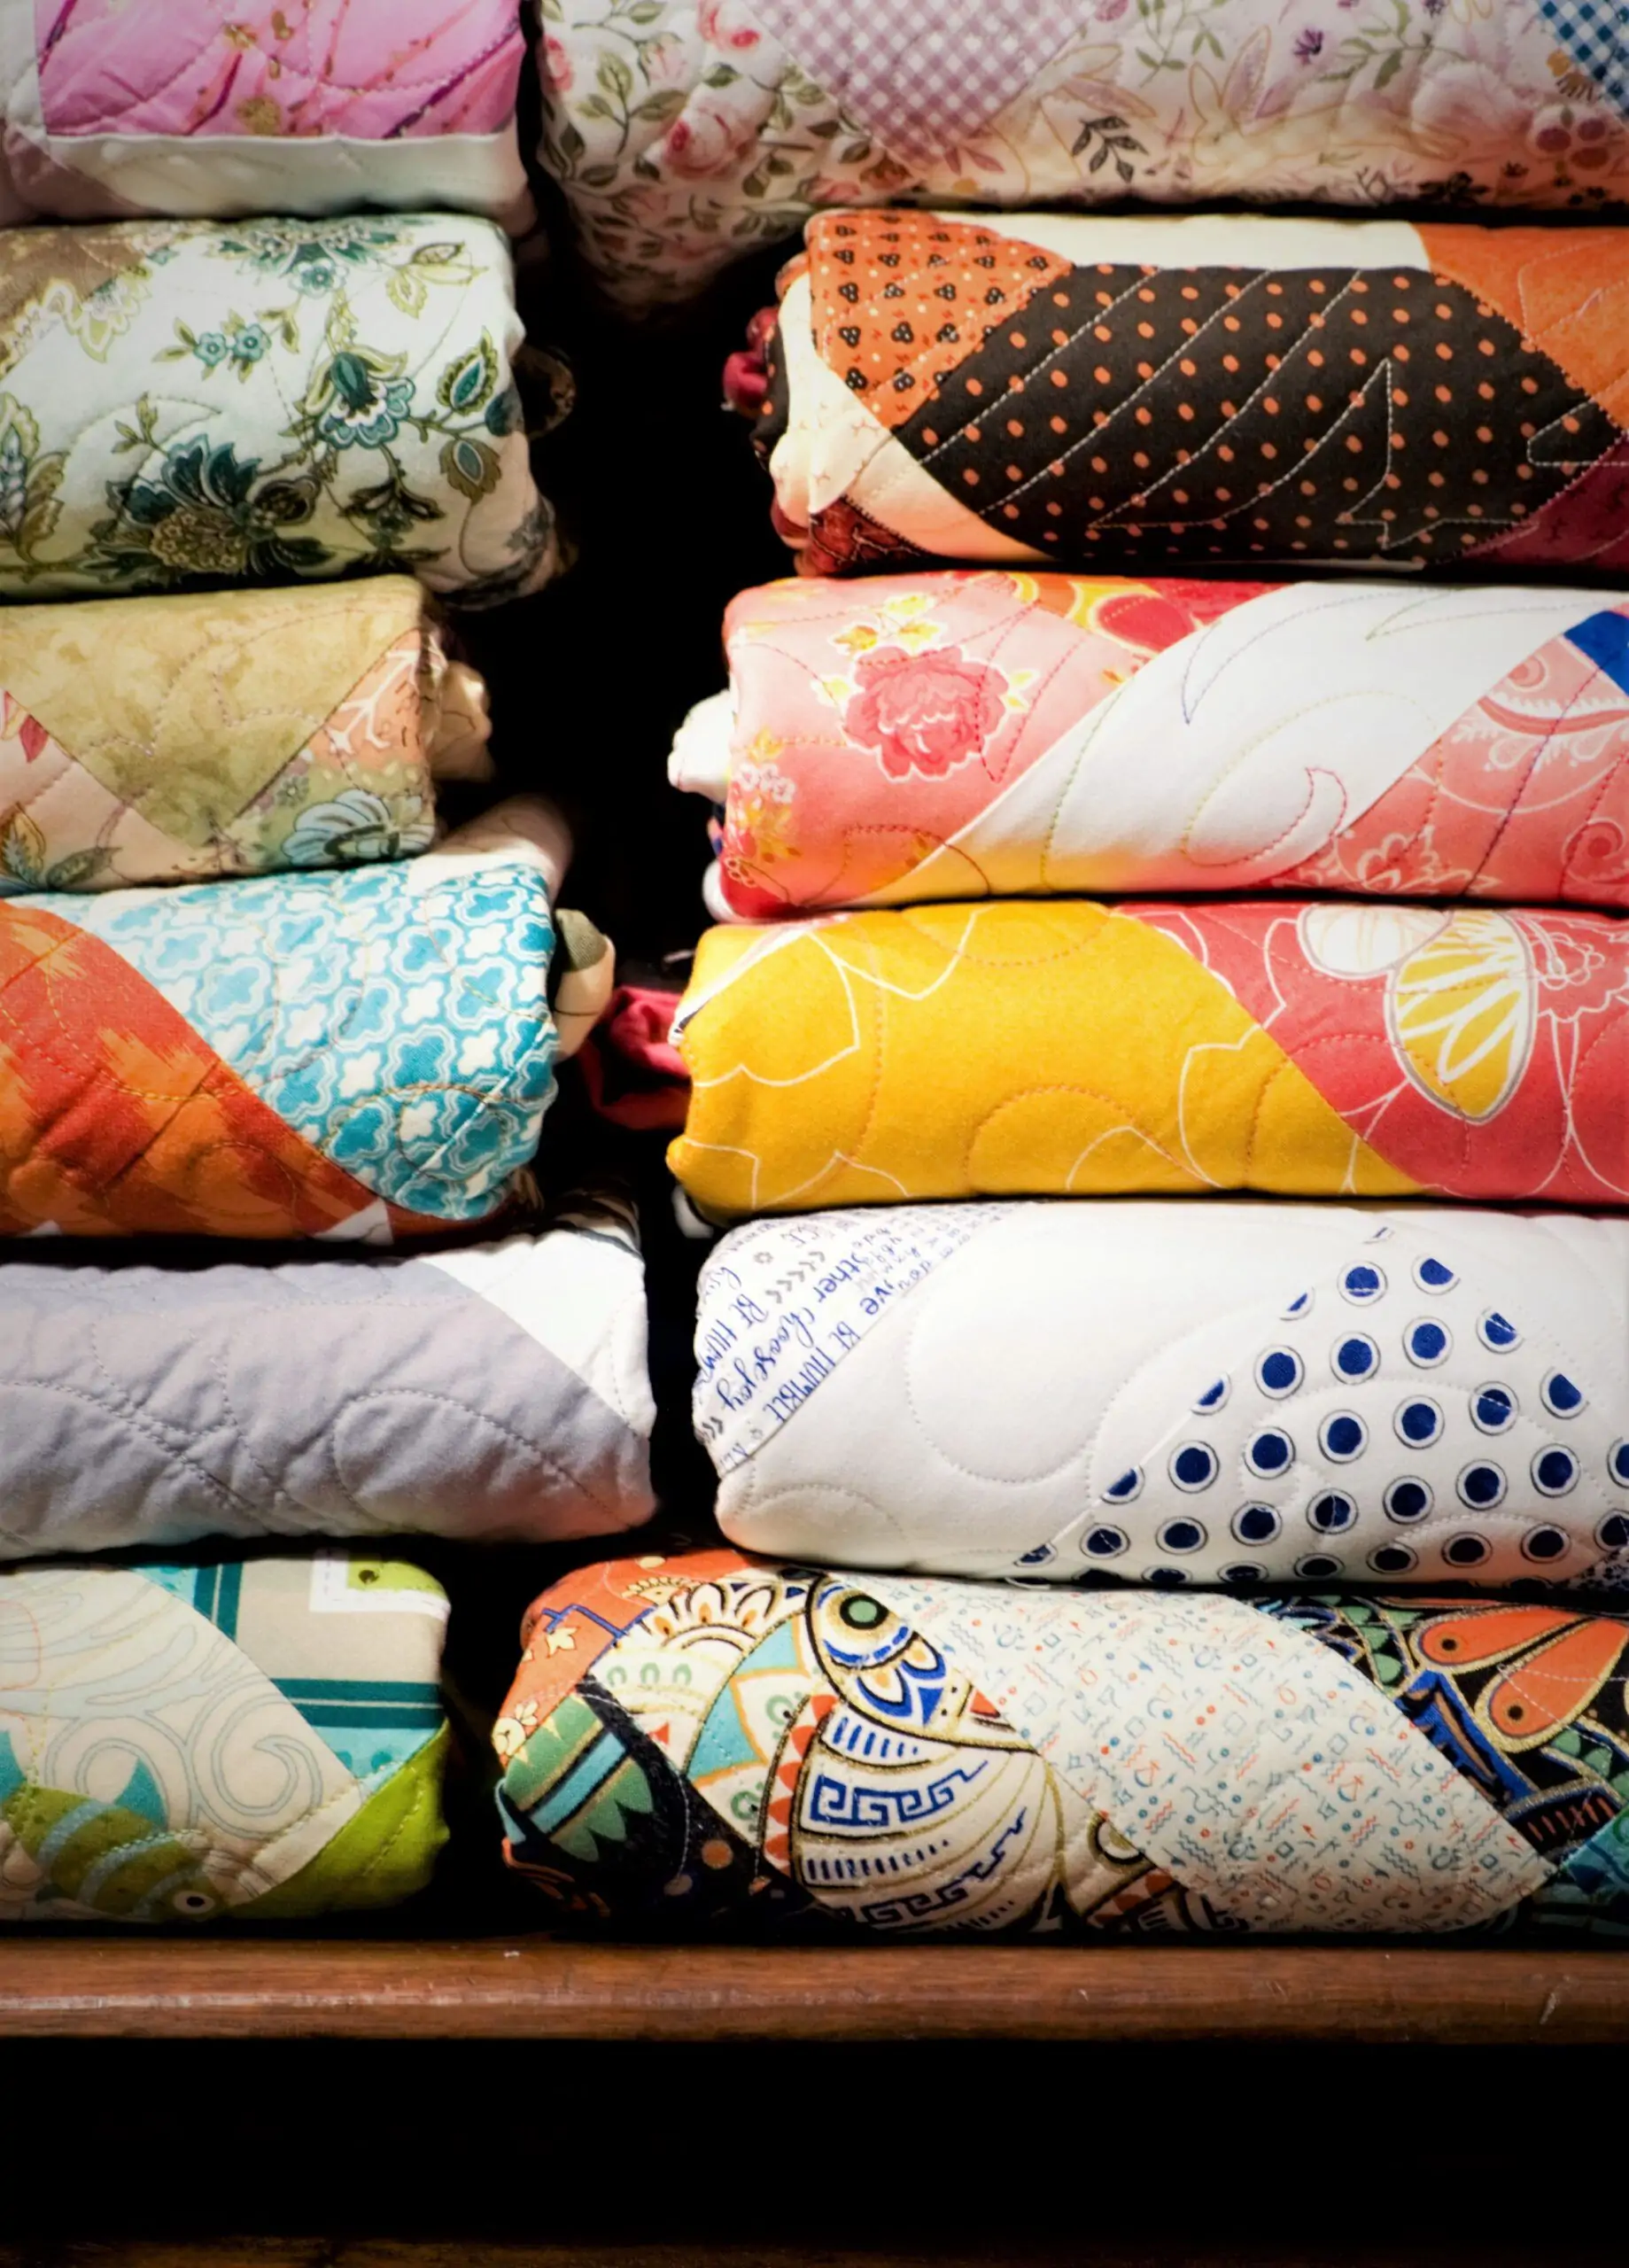
Then came the tutorial; the link is here. This is an easy way to fold on the bias and it produces a cute and tidy quilt bundle. I actually pulled a stack of my quilts out of storage and practiced folding while watching the tutorial. I practiced because I did not want to forget how to do it. Watching tutorials and thinking “that is really cool and easy” then forgetting is one of my gifts. So, I folded until I could do it from memory.
Finally, I can fold a quilt the ‘right’ way.
THE QUILT LIBRARY
However, the part of the tutorial that really caught my attention was the mention of a quilt library. I love reading almost as much as I love making quilts. So, I have several bookcases full of books and hundreds in an electronic library on my iPad. But I’ve never thought of having a quilt library. Once I mastered folding the quilts (and they look so adorable like this), I moved on to storage.

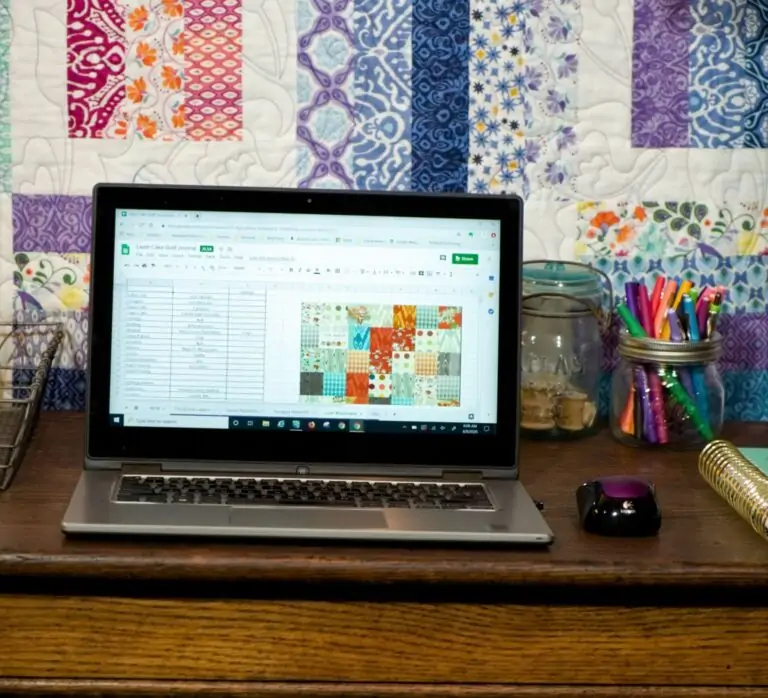
I don’t have so many quilts that I need to catalog them. Maybe someday. For now, keeping my journal works just fine. Each quilt really does need to be labeled though. I’m bad about labeling my quilts. In fact, while folding I found only one quilt with a label. I need to come up with a pattern for a label I like and start using it. That’s my next project . . .
CREATING MY QUILT LIBRARY
Anyway, back to the library concept. I decided to use my hall closet. I’m not going to lie; we moved into this house three years ago and it has looked like this ever since. It is long and shallow and I think imagining a clever way to use it was just too much. I just shoved stuff on shelves and closed the doors. It was high time to make better use of it.

My first step was finding the leftover wire shelf dividers I used to organize my fabric stash. (Bonus: less clutter in my craft room). I purchased the dividers on Amazon and there are lots of different kinds. (They come in different sizes so make sure you know the depth of your wire shelving before ordering them.)

I used three dividers for this project because it’s all I had. I ordered more because I’m going to organize the bottom two shelves as well. It is time to get this closet under control.
Then, I stood the folded quilts on end as suggested in the tutorial. So, how cute is this? My own tiny quilt library tucked safely away in a closet for easy access.

Oh, and just for fun I throw the doors open now and then just to admire my new quilt library 🙂


