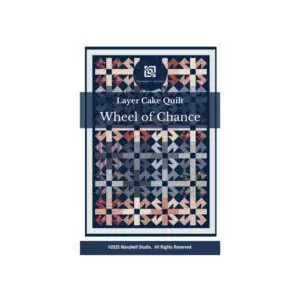
Wheel of Chance Quilt Block – Easy, Eye-Catching, and Historic
Wheel of chance – Spinning Through Time
There’s something irresistible about a quilt block with a name like Wheel of Chance. It suggests movement, surprise, and maybe even a little bit of luck—just like quilting itself, where bold choices and happy accidents often lead to stunning results.

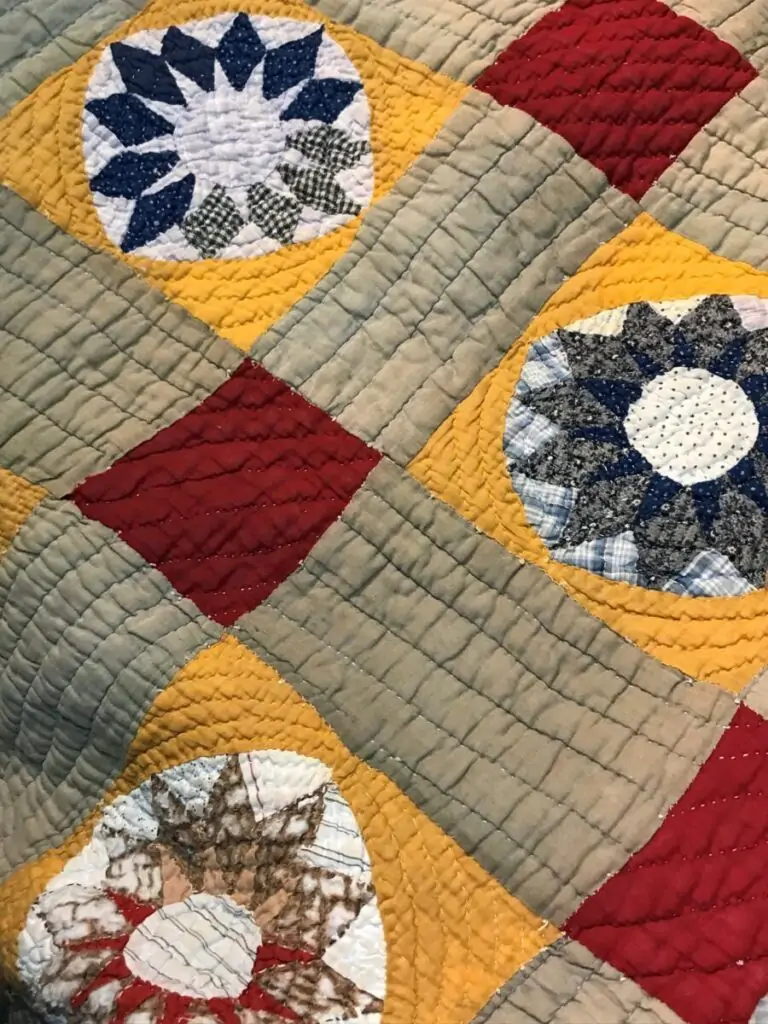
The Wheel of Chance quilt block first appeared in the Chicago Tribune in the 1930s, published under the name Nancy Cabot—a pen name used by Loretta Leitner Rising. During the Great Depression and World War II, Nancy Cabot patterns were especially beloved because they emphasized scrap quilting, thrift, and making do with what you had—very much the spirit of the time.
The designs often drew from traditional and regional quilt blocks, many with charming or old-fashioned names, and they were presented in a practical, approachable way for home sewists. Readers could mail away for full pattern sheets, and thousands did, making Nancy Cabot one of the most influential sources of quilt patterns in the 20th century.
Though it carries the name “Wheel,” the block itself doesn’t use curves or complicated piecing—just smart geometry. This made it accessible to Depression-era quilters working with limited tools and fabrics, and it’s just as scrap-friendly today.
A Whirl of Symmetry and Simplicity
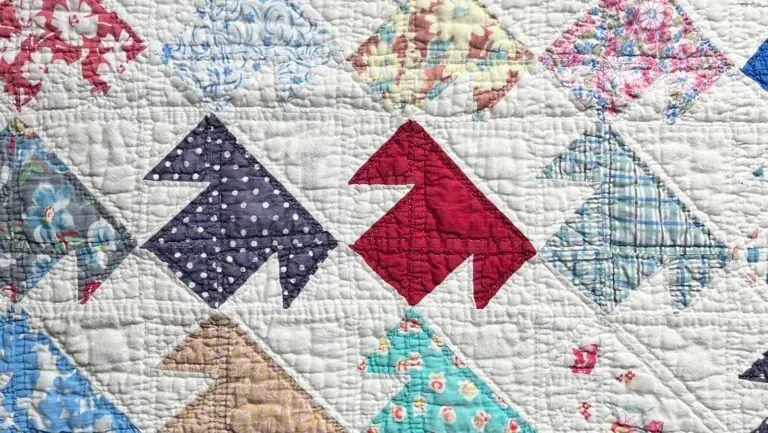
The Wheel of Chance quilt block is an uneven nine-patch with playful pinwheel movement in each corner—one of those blocks that’s just plain fun to look at. The symmetry keeps everything feeling balanced and gives it that crisp, graphic appeal.
It’s made from simple half-square triangles, rectangles, and squares, which makes it perfect for digging into your scrap bin. Sew it up in a bold, modern color palette and the block really pops, but thanks to its classic layout, it still has that timeless, vintage quilt charm we can’t resist.
I went with a dark background for my quilt, but this block absolutely shines on a light background as well, giving the wheels even more presence.
Why Was It Called “Wheel of Chance”?
The truth is that no one knows for sure, but Nancy Cabot had a knack for giving her blocks names that felt like little stories. Wheel of Chance isn’t just a design—it’s a spinning pinwheel of possibilities. And in the 1930s, ideas of luck and chance were on everyone’s mind.
In this block, the turning corners might suggest fortunes spinning or small surprises waiting to happen. It’s a block that reminds us that quilting is full of playful twists and unexpected joys.
Wheel of chance – A Vintage Block for Modern Quilters
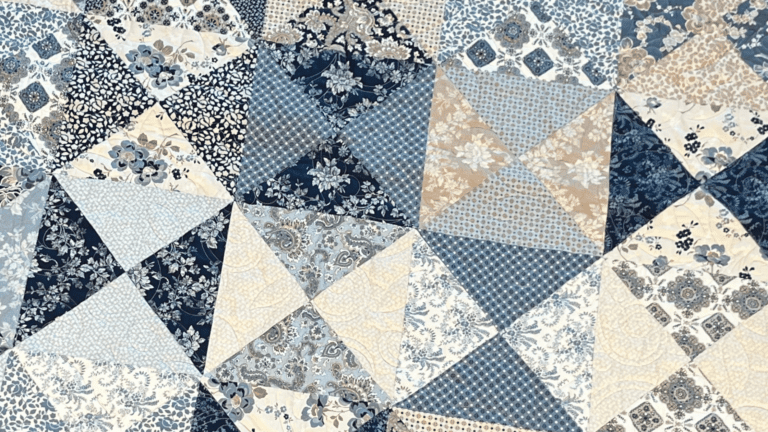
Whether you’re drawn to historical blocks or just love strong visual movement in your quilt tops, the Wheel of Chance is worth a spin. It looks fantastic in limited color palettes or bold scrappy layouts, and it plays well with negative space when enlarged into a statement block.
Take a peek at the quilt layout possibilities below and see what ideas pop into your head for your own version of this block.
Then dive in and make a Wheel of Chance block yourself—you’ll be surprised how easy (and fun!) it is. We started with a Layer Cake and used a simple sew-then-cut trick to whip up 16 half-square triangles all at once. Go on… give it a try and watch the magic happen!


Prepare Fabric
[1] 10″ x 10″ fabric square for HST
[1] 10″ x 10″ fabric square for background
[4] 2 1/2″ x 4 1/2″ fabric rectangles for sashing
[1] 2 1/2″ x 2 1/2″ square of background fabric
Lay [1] 10″x10″ fabric square for HSTs and [1] 10″x10″ background fabric square right sides together.
____________________________________
Draw Lines

Draw a vertical and a horizontal line through the center of the 10″x10″ square. *If you like, draw sew lines on both sides of each drawn line as shown in the photo.*
____________________________________
Sew Horizontal, Vertical, and Perimeter Lines

Sew around the entire 10″x10″ square set using a 1/4″ seam. Then, sew along both sides of both the vertical and horizontal drawn lines.
_____________________________________
Cut and Press

Cut along both vertical and horizontal drawn lines so that you now have [4] small 5″x5″ square sets.
______________________________________
Cut Small Square Sets

Cut each of the [4] square sets along both diagonals. Press units open to reveal [4] Half Square Triangle units. You will have a total of [16] HST after cutting all the squares.
______________________________________
Sew Corner Units for Wheel of Chance Block

Arrange [4] HST units in the orientation shown and sew them together as you would a 4-patch. Make [4] 4-patch HST units.
____________________________________
Cut Sashing Units and Sew to HST units

Use the [4] 2 1/2″ x 4 1/2″ rectangles as the block sashing. Sew [2] to HST units to sashing as shown above. Sew the other [2] sashing rectangles to [1] 2 1/2″ x 2 1/2″ background square as seen above.
__________________________________
Sew Sections together to Finish block

Sew the sections together to complete the Wheel of Chance block.
_______________________________________
Get the Quilt pattern!
If you had fun sewing the Wheel of Chance block above, you’re going to love the full quilt pattern. It’s designed to work beautifully with any Layer Cake plus a small amount of background fabric, making it an easy choice for your next project.
Choose a colorway inspired by one of the layouts above if you like, then use the pattern to turn those blocks into a complete quilt. It’s a satisfying, confidence-boosting sew that shows off your fabrics and comes together faster than you might expect.

Finished Quilt measures approximately 48″ x 68″