A perfect quilt for 1 Charm pack
The Vintage 4-Patch Quilt Block
A perfect quilt for 1 Charm Pack. The vintage 4-patch block is made by sewing four squares of fabric together into a 2 X 2 grid. A combination of light and dark fabrics defines the classic pattern. However, the four patches can really include any fabrics. Make the Four Patch blocks as small or large as you like using the method below. Simply decide what size the finished block should be and do a little math.
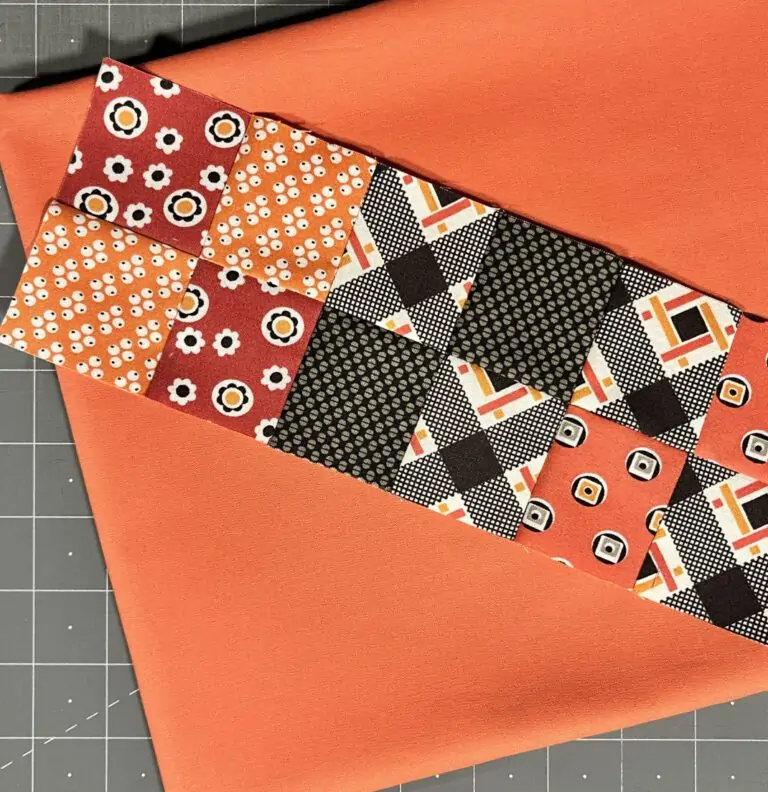
As was the case with the Nine Patch Block, the term ‘four-patch’ might also refer to the layout of the block. Combining units into groups of four makes it easier to construct more complicated quilt blocks. Thus, any 2 X 2 grid is a ‘four-patch’. In fact, you’ll see examples later in this post of a variety of ‘four-patch’ blocks. Some of them have Four-Patch blocks within a Four-Patch layout.

Mastering this basic little block is fun and easy. Make sure to add it to your skill set.
In this post, you’ll learn a little history, a basic technique to create the block using squares of fabric, and the best pre-cuts to use. As always, using yardage will afford the best color and size flexibility for the blocks. However, the convenience of charm packs, layer cakes, and jelly rolls is hard to resist.
A Little History
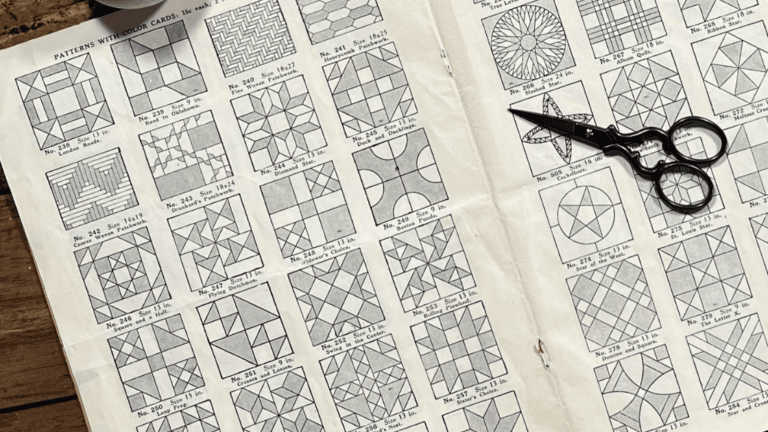
In 1935 Carrie Hall and Rose G. Kretsinger co-authored a book titled The Romance of the Patchwork Quilt in America. Both Rose G. Kretsinger and Carrie Hall contributed historical information about quilts and the art of quiltmaking. In addition, the first part of the book includes pictures of over 700 quilt blocks sewn by Carrie Hall in an effort to reproduce quilt ‘patches’ of her time. Photos of applique blocks and vintage quilts fill the second part of the book. Per the Quilter’s Hall of Fame, this book is considered the first complete quilt block index.
Carrie Hall’s Four Patch
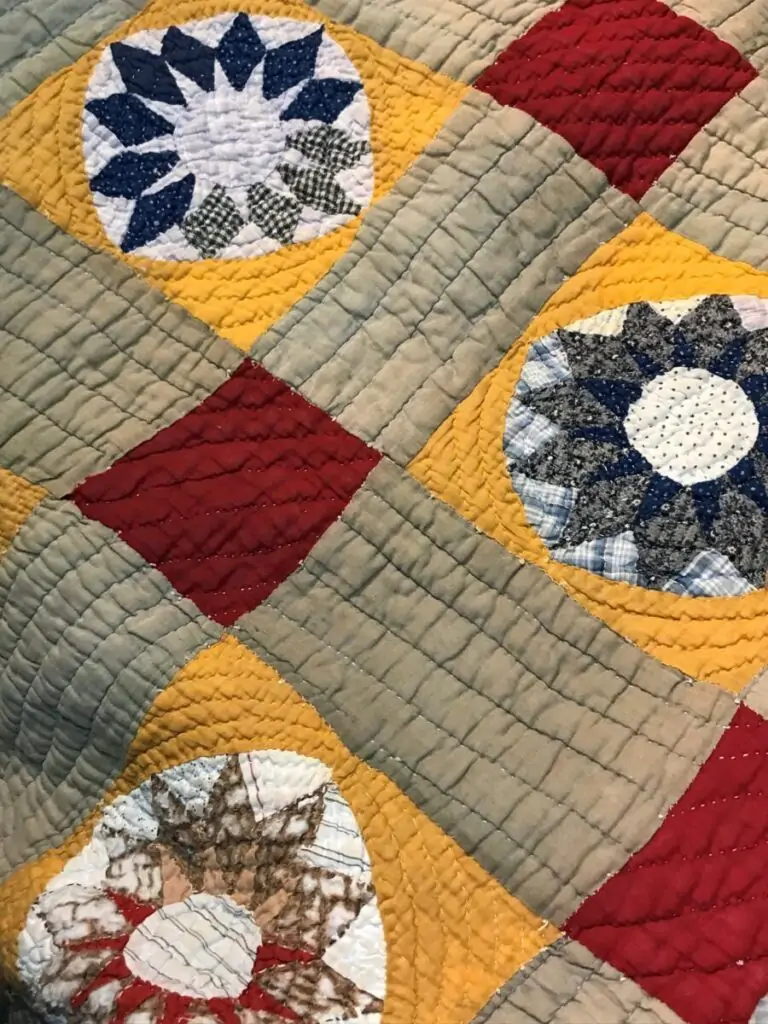
However, when I looked up the ‘Four Patch Block’ in the index of The Romance of the Patchwork Quilt in America, it was not the classic pattern I was expecting. Carrie Hall labeled the block below as the original ‘four patch’. The quote below is her description of the block. The quote suggests that the Four Patch was different than other quilt blocks at the time. The author’s comments about ‘regular shaped patterns’ make the reader think this was a new design concept. Apparently, the earlier quilts were ‘crazy’ quilts and quilters did not cut the patches of fabric but left them irregular.
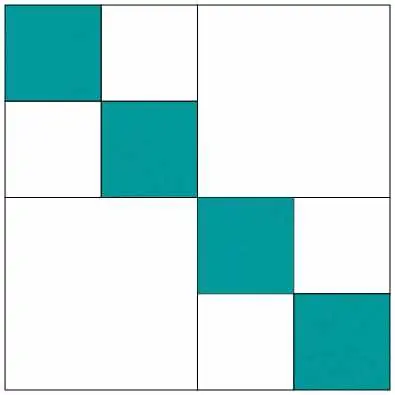
No. 4 — The original “Four-patch.” Change is the result of all progress. One of our colonial ancestors, having a flair for variety, decided to cut her patches by a regular shaped pattern instead of using them in the irregular form. The three basic designs earliest used were the square, the rectangle, and the diamond. In the four-patch we see the very simplest form of the square, the design being created by the use of light and dark patches.
Hall, Carrie and Rose G. Kretsinger. The Romance of the Patchwork Quilt in America, Caldwell, Idaho. The Caxton Printers, LTD, 1935.
A Four Patch Block Variation
In addition to the block displayed above, Carrie Hall pictured the block below and labeled it simply “another variation of the Four Patch”.
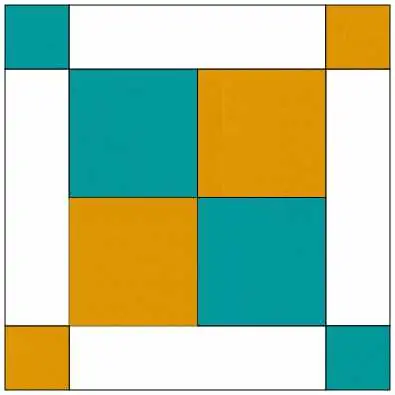
A Nod to the past
So, let’s talk about constructing the Four Patch block as defined by Carrie Hall. You must first decide the size of the finished block you want to make. Keep in mind that because there are 2 equal horizontal rows and 2 equal vertical rows choosing a size divisible by 2 will make your calculations much easier. Want something that works with pre-cuts and goes together quickly? Use the instructions below and you can create a quick and easy lap-size quilt.
How to Make a Vintage Four Patch Block Using Squares of Fabric
In order to make Carrie Hall’s Four Patch, you will need printed fabric for the small Four Patch units and background fabric for both the small Four Patch units as well as the larger patches. The instructions below call for 1 charm square (5″ squares of fabric) and 1 layer cake square (10″ squares of fabric). The layer cake fabric should be solid such as white, bone, or light gray. Any color that coordinates with your charm pack printed fabric will work though so be creative.
The finished Four Patch blocks will measure 8 inches. Remember, finished is the size of the block once it is sewn to other blocks. The unfinished size includes a 1/4″ seam allowance on every side. Use the pre-cuts as described and you can make a quilt that measures approximately 48 inches X 56 inches.
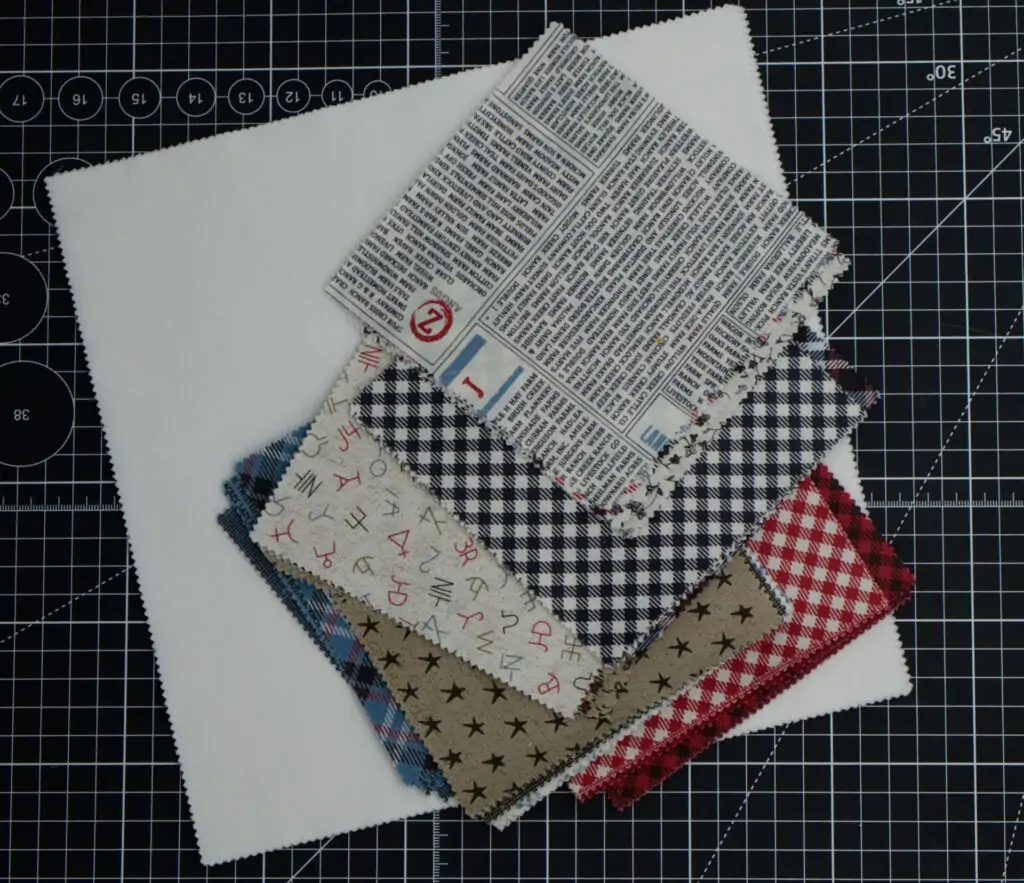
Instructions
The instructions below are for a single block. You will need only one layer cake fabric square and one charm square. However, if you choose to make the entire quilt (48 X 56 inches), you will need 32 layer cake squares and 1 charm pack.
Total Time: 10 minutes
1. Cut one layer cake square into four 5″ X 5″ fabric squares.
2. Choose a charm square from your Charm Pack. Lay the charm square and one 5″ X 5″ fabric square from Step 1 Right Sides Together (RST).
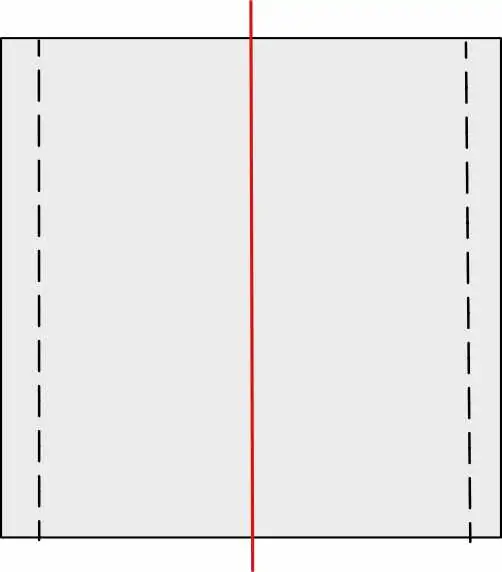
3. Sew 1/4″ from the edge on opposite sides as shown by the dotted lines in the diagram below
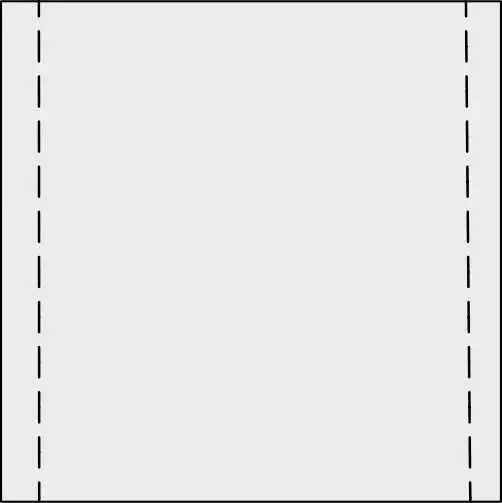
4. Measure 2-1/4″ from one of the seams. Cut a vertical line. Measure 2-1/4″ from the other seam and trim any excess fabric.
5. Press the seams toward the dark fabric.
Always pressing the seams toward the dark fabric will make it easier to nest the seams in the next step.
6. Lay the units from Step 5 RST. Make sure seams are nested together and sew down the short sides (blue lines). See diagram below.
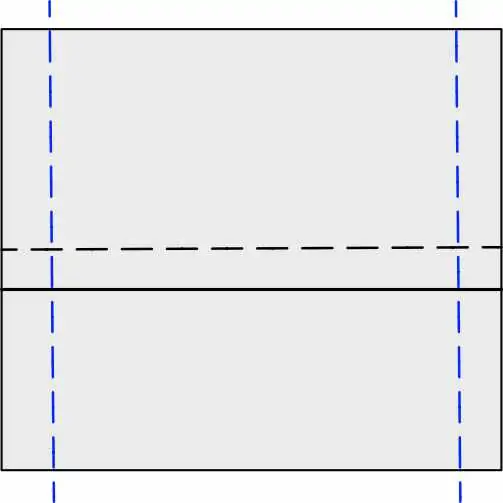
7. Measure 2-1/4 inches from one of the seams you sewed in Step 6 (blue lines). Cut a vertical line. Trim the other side to 2-1/4 inches from seam.
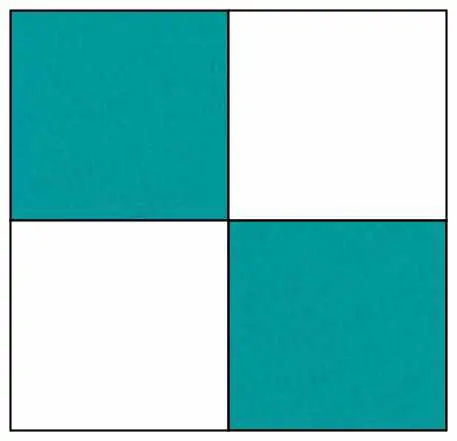
8. Open the Four Patch units you created in Step 7 and press. Square them to 4-1/2 inches.
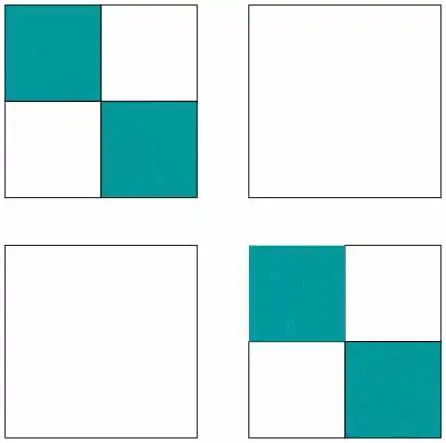
9. Trim two 5″ fabric squares from Step 1 to measure 4-1/2″ square.
10. Sew Four Patch units to background fabric squares in the order shown below. Press seams toward the solid fabric. Then, sew the top row to the bottom row. Trim the block to 8-1/2″ X 8-1/2″.
11. To make the entire quilt, repeat Steps 1 – 10 with remaining charm squares and 31 layer cake squares. Leftover layer cake squares can be saved for another project.
Supply:
- [2] 5" X 5" SQUARES OF PRINTED FABRIC
- [1] 10"X10" SQUARE OF SOLID FABRIC (BACKGROUND FABRIC)
- *OPTIONAL: CREATIVE GRIDS TURBO 4-PATCH RULER
Use the Creative Grids Turbo 4-Patch Ruler
Would you rather not measure or do math? If so, you might like the Turbo 4-Patch ruler by Creative Grids. With this ruler, you can make two Four Patch units at a time without measuring or math. Also, the ruler allows you to make sixteen different sizes of Four Patch units from 1/2″ to 4-1/2″. You can find more information and an instructional video here.
If you plan to make a lot of Four Patch units, the ruler is a great option.
Four Patch Quilt Layouts
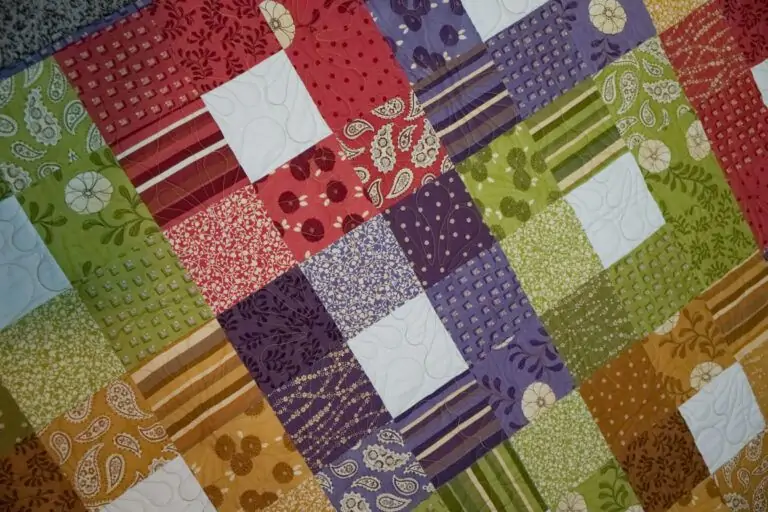
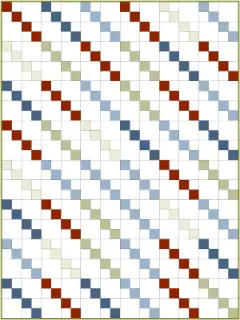
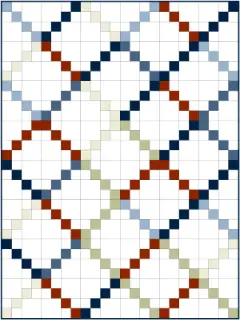
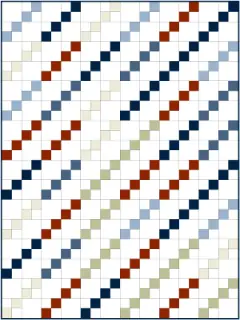
It always delights me when such a simple block makes such an adorable quilt. Nothing flashy, just a basic, beautiful quilt. It’s a lovely way to use up that charm pack you’ve been saving. Below are a few options for layouts.
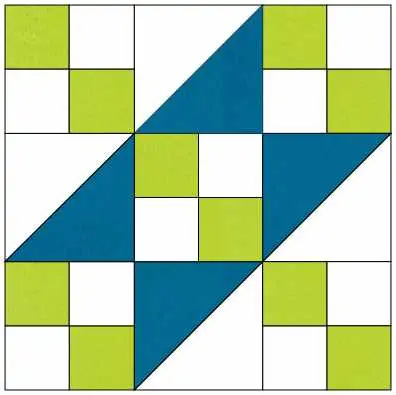
Other Blocks with Four Patch units
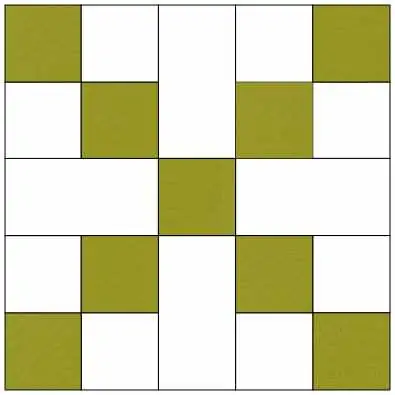
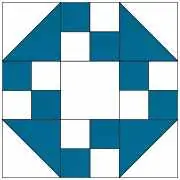
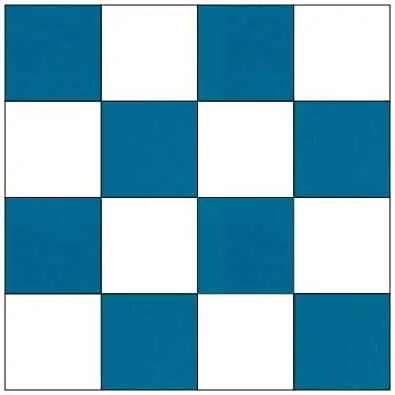
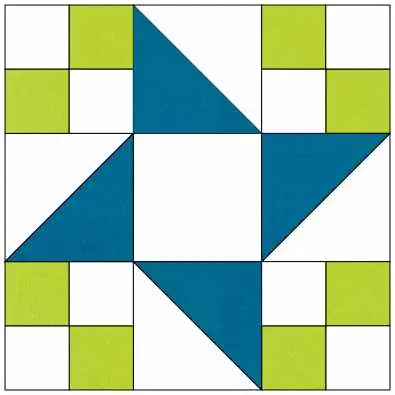
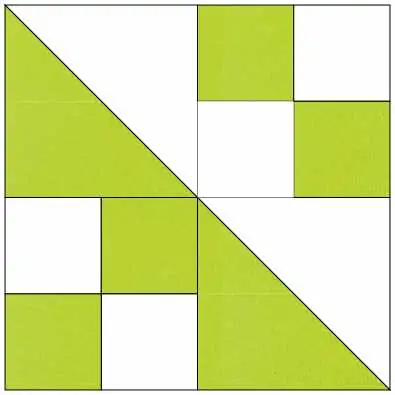
While you can make a lovely quilt with nothing but Four Patch Quilt blocks, there are many other quilt blocks that tuck a Four Patch unit or two into the pattern. A few examples are shown below. Now that you know how to make a basic Four Patch, creating each of the blocks below is easy with a little math.`
Best Pre-Cuts to Use for the Four Patch Block
If you love using pre-cuts, the Four Patch Block is perfect for you.
Charm Packs: The perfect choice if the finished block you desire is 4-inches square or less
Layer Cakes: Did you realize that a layer cake is the same as 4 charm packs? Just cut each fabric square into four 5-inch squares. Or you could leave each 10-inch square of fabric intact and make a large Four Patch Block.
Mini-Charm Packs: The perfect option if you want to create a scrappy look. Four mini-charm packs are equal to one charm pack.
Jelly Rolls: Cut 2 contrasting strips into 5 X 2 1/2″ rectangles. Now, lay two of the contrasting rectangles together RST and sew along the long side. Press to the darker fabric. Repeat with another pair of rectangles. Press each unit toward the darker fabric and begin at Step 6 above.


