A Simple Guide to Printing an Image on Fabric
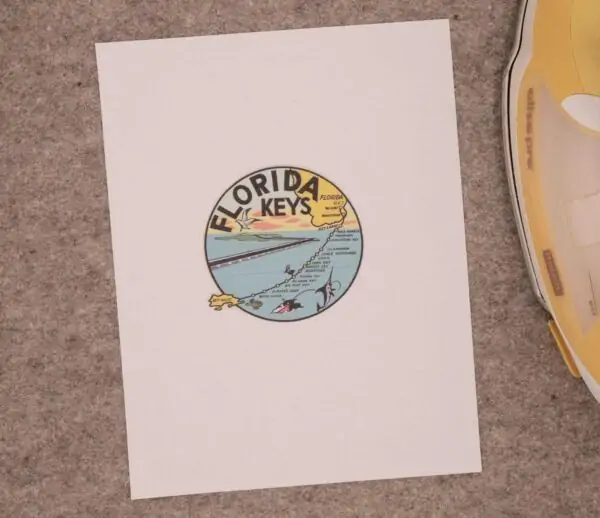
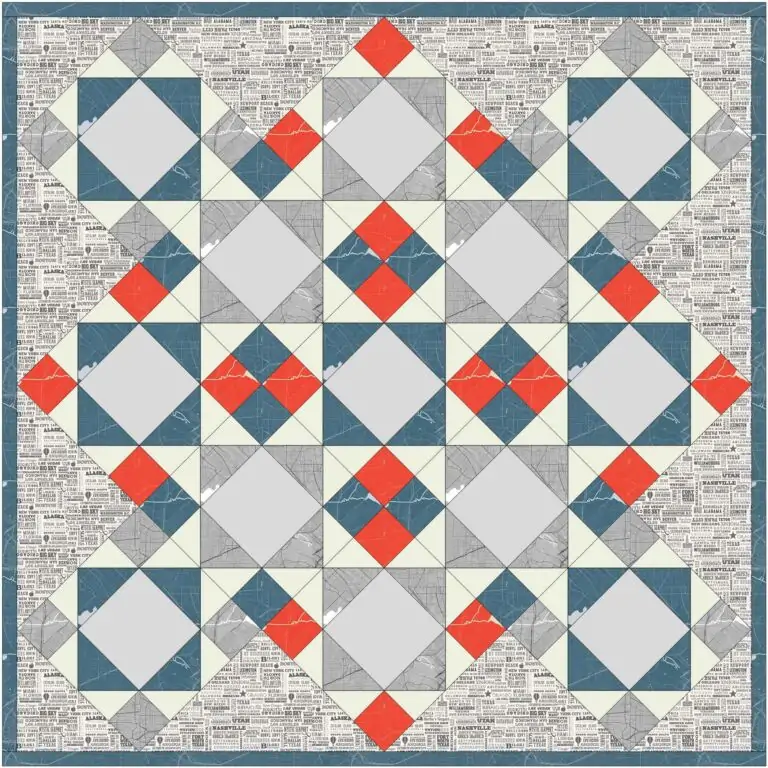
I chose to make the first block of my Destinations Quilt using the retro Florida Keys decal for an image. Driving the Overseas Highway with the ocean on either side of me feels like the ultimate vacation right now.
I don’t remember the exact year I visited the Florida Keys, but I do remember the drive. Key Largo to Key West. During most of the drive you can see the ocean on at least one side of the highway. Taking time to stop for lunch or just enjoy the view is a must.
Each island is uniquely it’s own. Key Largo boasts the John Pennekamp Coral Reef State Park. You can snorkel, dive, or take a tour on a glass-bottomed boat.
Islamorada is famous for deep sea fishing and boat charters. Marathon is known for the seven-mile bridge. Big Pine Key is home to the national refuge for Key deer. And in between and surrounding these are many other islands – one is even named ‘No Name Key’.
At the end of the drive is Key West – the southernmost point in the continental United States. You can tour Ernest Hemingway’s residence and visit with the descendants of his famous six-toed cat. Or, you can visit the Key West Butterfly and Nature Conservatory and be surrounded by butterflies. You might even catch sight of a quail chick as it scurries to safety. And you can always just relax and enjoy the sandy white beaches. What I remember most about Key West though are the chickens. Mother hens freely roaming the streets with their chicks. And, of course, you can’t leave Florida without sampling a slice of Key Lime Pie.
The Florida Keys travel sticker brought back a lot of memories. But on to our project . . .
Using Printable Fabric
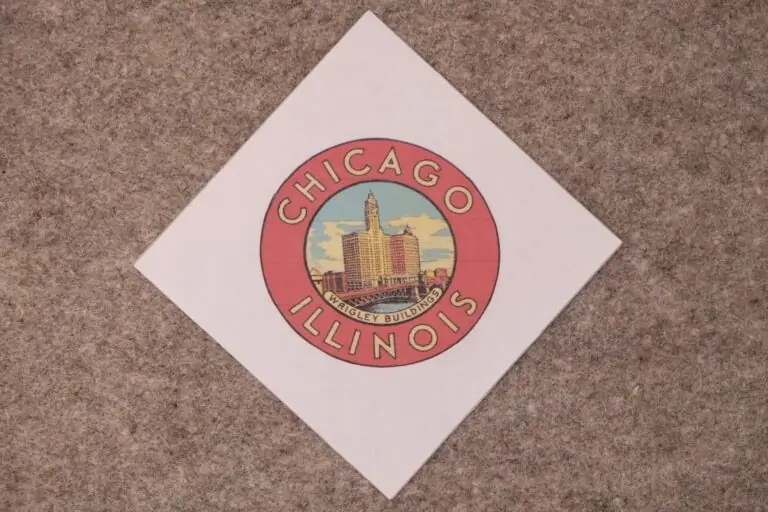
I used the same technique to make all the center squares for the blocks in this quilt. I used EQ Printables Inkjet Fabric Sheets: Cotton Basic (200tc) Inkjet Fabric and a Brother inkjet color printer. I’ve never had issues with the automatic feeding of fabric sheets and the ink cartridges are easy to find for the Brother printer (MFC-J885DW) I have. You must use an inkjet printer NOT a laser printer when printing on these fabric sheets.
Preparing to Copy the Image to Fabric
Prior to copying my decal to the fabric I did the following:
- Attached the sticker to a plain white sheet of copy paper
- Drew an ‘X’ in the bottom left corner of the top sheet of paper in my printer paper drawer
- Made a copy of the sticker to that sheet of paper with an ‘X’. I wanted to know how the paper was feeding into the printer and on which side the image would appear.
- My experiment in step 3 told me whether to lay the fabric sheet in the drawer right-side up or upside down.
- Loaded the fabric sheet into the paper feed drawer so that when copied the picture would be on the fabric side of the sheet.
- Copied the sticker image to the fabric sheet.
- I found it best to load only one fabric sheet into the paper drawer at a time
After Copying Your Image
An instruction sheet is provided with the fabric sheets. However, below is what I did. I don’t think it varies much from the original instructions and it worked for me.
- Let the fabric sheet dry for about 10 minutes
- Carefully peeled the plastic backing off the fabric sheet
- Soaked the fabric in clear, room temperature water for approximately 10 minutes. (The instructions suggest distilled water, but I didn’t have any).
- Let the fabric sheet dry flat between two paper towels until it is barely damp
- Lay the damp fabric sheet upside down on your ironing mat and press gently with a warm iron
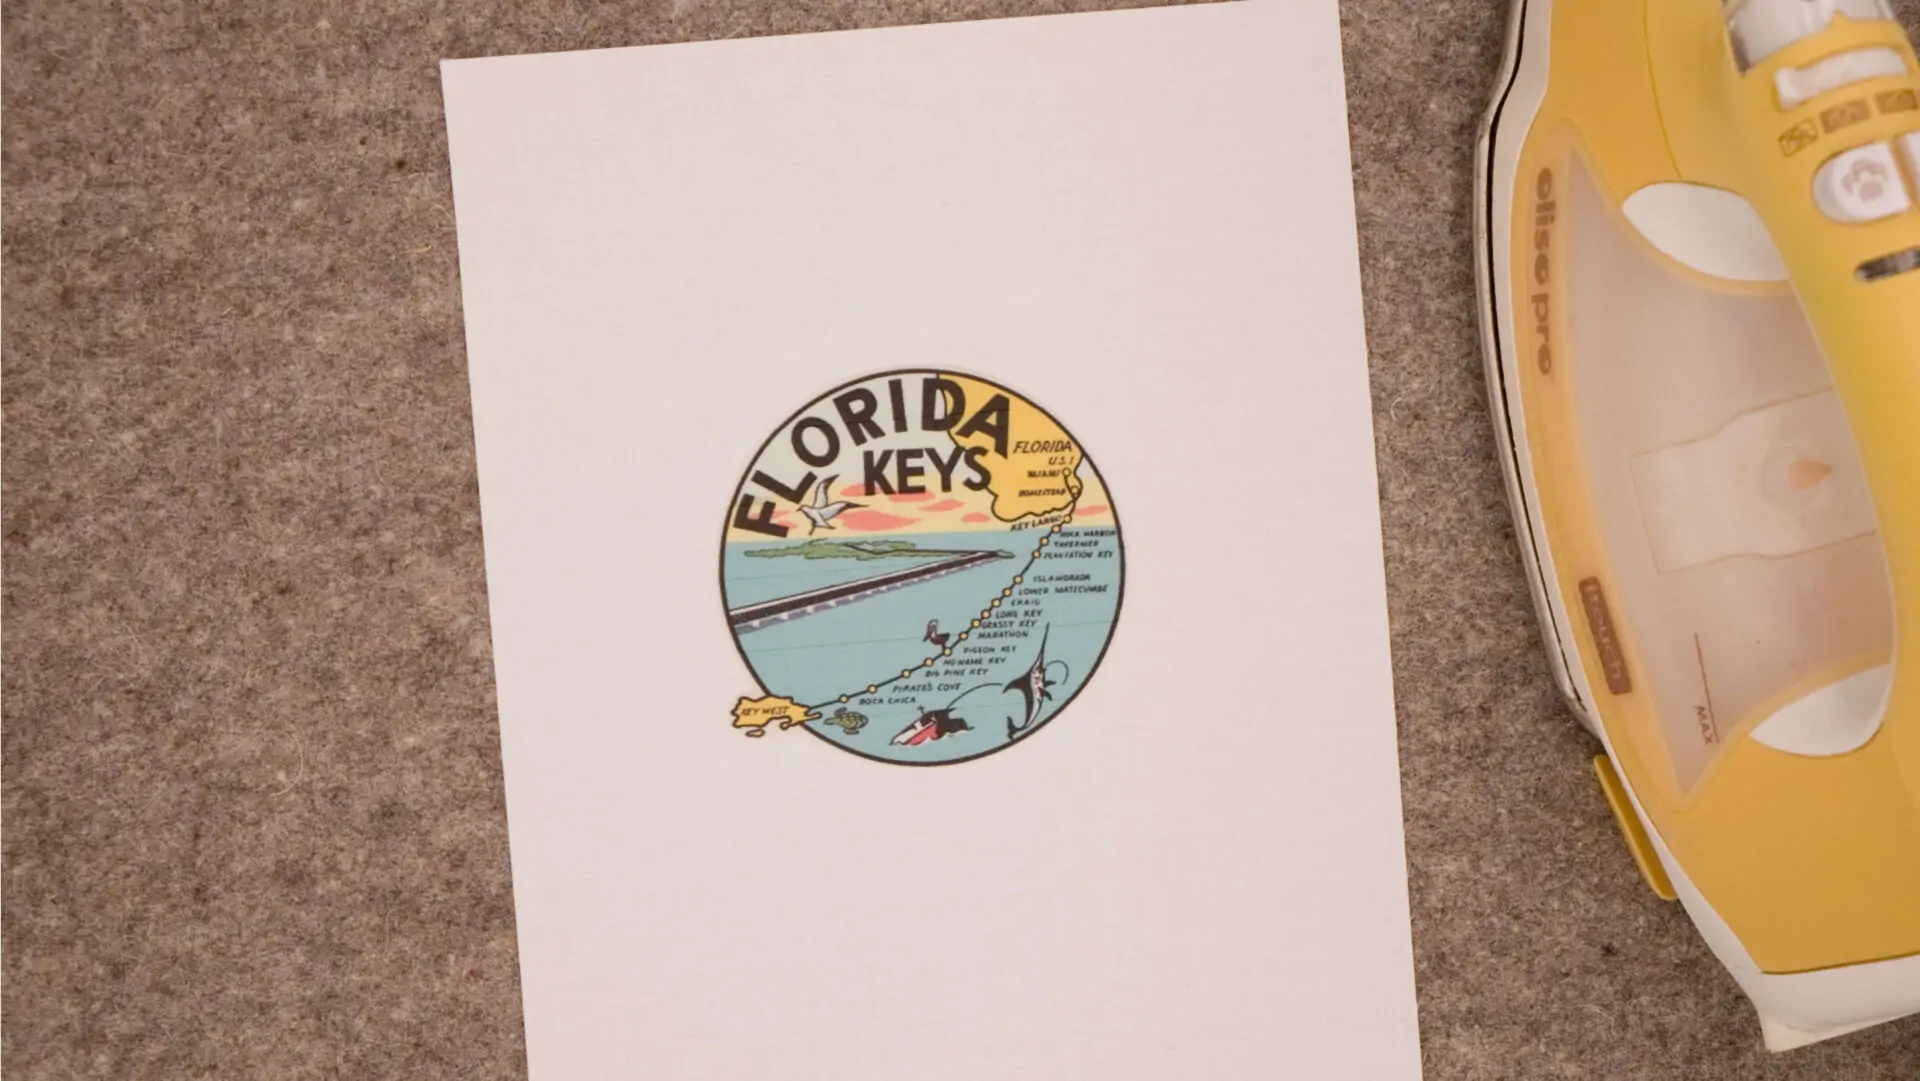
That’s it. You can see how mine turned out below. I’m ready to fussy cut.