How to Fussy Cut Fabric for a Quilt Block in 3 Easy Steps
I completed the second block for my Destinations Quilt this week, and I wanted to share it with you.
Chicago and Quilting
I’ve visited Chicago several times and what stands out most in my memory is downtown. The Chicago River, Lake Michigan, museums, and Michigan Avenue. In addition to all the famous sites, Chicago has a colorful history. The Great Chicago fire, gangsters, the first skyscraper, and two World’s Fairs to name a bit. The World’s Fair of 1893 commemorated the 100-year anniversary of Christopher Columbus. The World’s Fair of 1933 marked the 100th anniversary of the city and was known as the Century of Progress Exposition. But, did you know that the World’s Fair of 1933 also boasted a quilt contest?
Sears National Quilt Contest
The Sears National Quilt Contest was organized by Sears Roebuck & Co. It is said that over 24,000 quilts were entered into the contest nationwide. The grand prize was $1000 which had the same purchasing power in 1933 as $20,000 would have in 2021. The nation was still being affected by the Great Depression, so it’s no wonder so many people entered the contest. It is said that even non-quilters decided to give it a try. The grand prize winner was Margaret Caden with ‘Star of the Bluegrass’. You can read more about the now famous contest here.
How to Fussy Cut
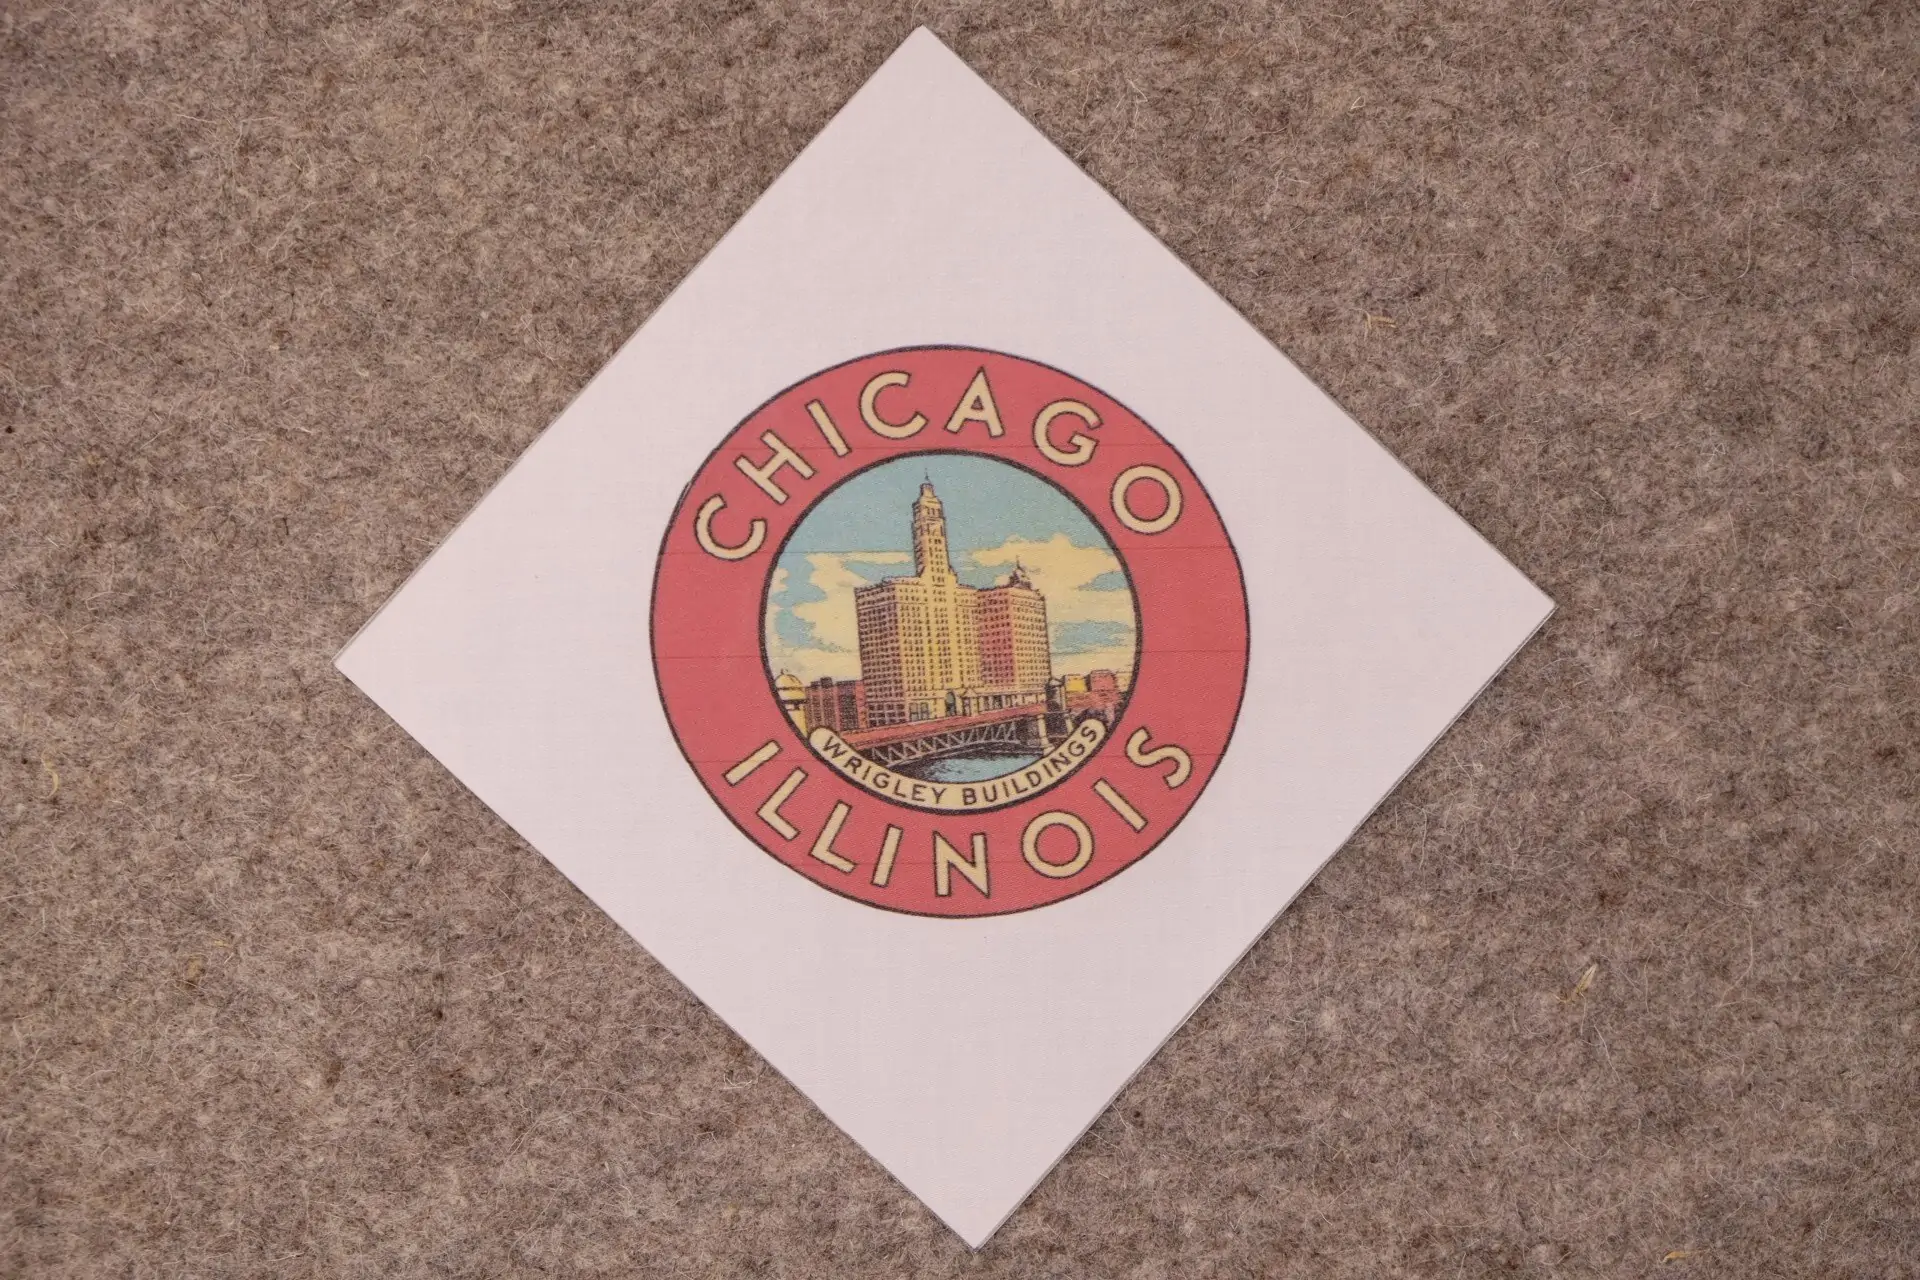
But, back to our Destinations quilt. I wanted to share how I fussy cut the center square.
I used the Creative Grids® 6 1/2-inch Fussy Cut Ruler to center the image and cut a 5 1/2-inch block for the center. If you’ve never used a Creative Grids® ruler, take a look at their how-to video. In the end, the center of each Destinations block finishes at 5 inches.
I like this particular fussy cut ruler because it is large enough that I can securely hold the ruler and fabric in place while drawing my cut lines. I’ve tried several other fussy cut rulers on the market and I’ve always had issues with them slippling or being too small. This ruler will allow me to fussy cut a square as small as 1-inch without using a tiny template.
I also use this ruler to square up blocks. So, it has more than one use which is always nice.
Here’s what I did to fussy cut my fabric with the decal image
- Centered the design in the 5-inch black solid lines on the ruler. I used the diagonal lines, horizontal, and vertical to center my image
- Marked the fabric through the drilled holes in the ruler to add the seam allowance. The holes are on the white dashed lines on the ruler.
- Connected the dots using a pencil and cut on the lines I drew


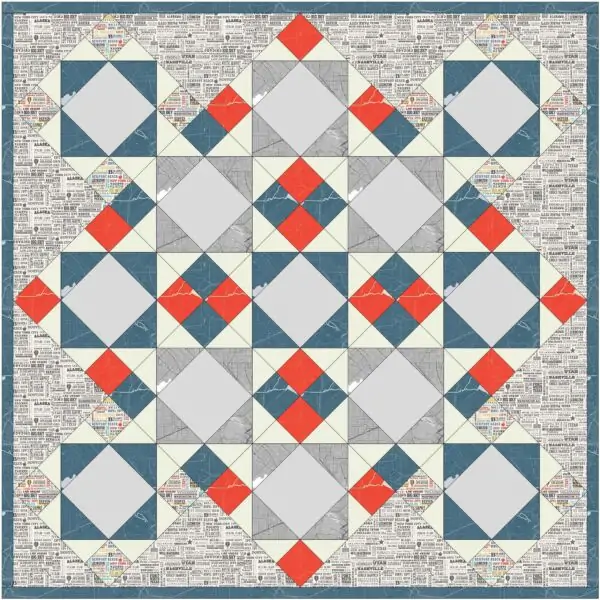
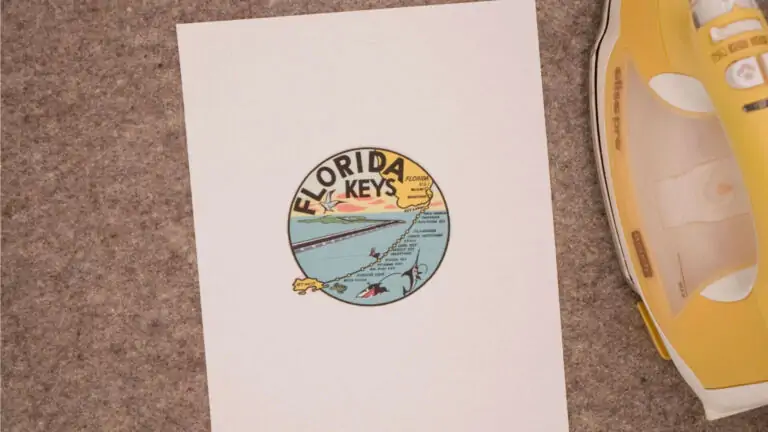
Now, I’m off to fussy cut the rest of my retro travel decal images. Just a reminder of the quilt design and fabric requirements before I go:
- 13 printable fabric sheets
- 1/2 yard gray map fabric
- 3/4 yard solid white fabric
- 1 yard blue map fabric
- 1/4 yard orange map fabric
- 3/4 yard gray text fabric


