The Use-It-Up Layer Cake Hourglass Quilt
Use the Entire Layer Cake
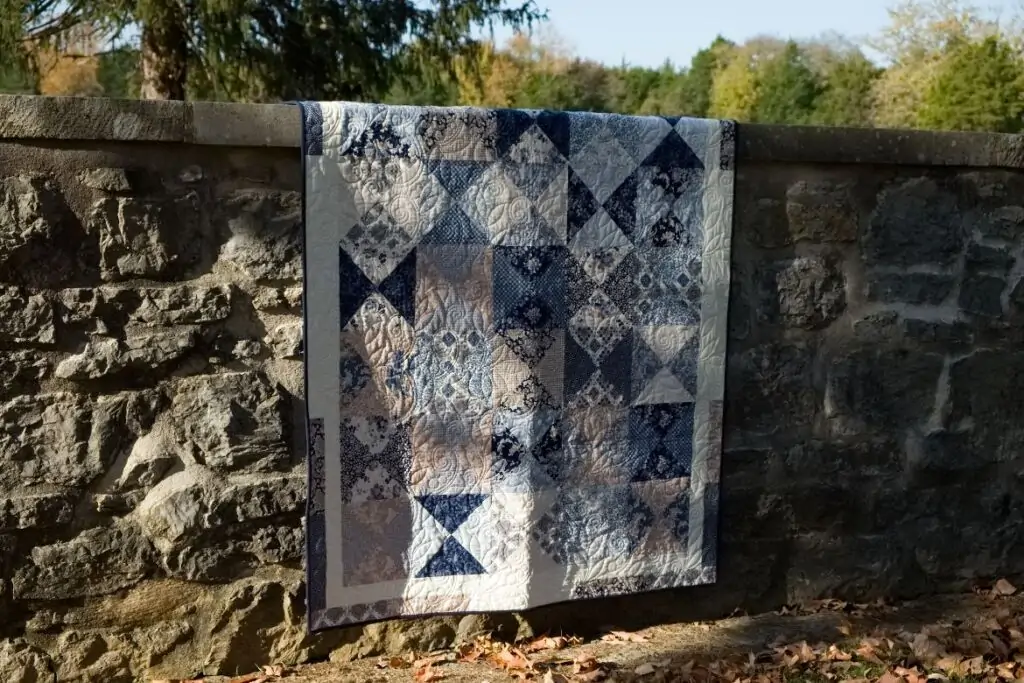
The Use-It-Up Layer Cake Hourglass Quilt puts all forty-two 10-inch squares to good use. You will use 36 of the squares to create Hourglass blocks and the leftover squares can be used for borders or binding. Get creative and use the leftovers anyway you like!
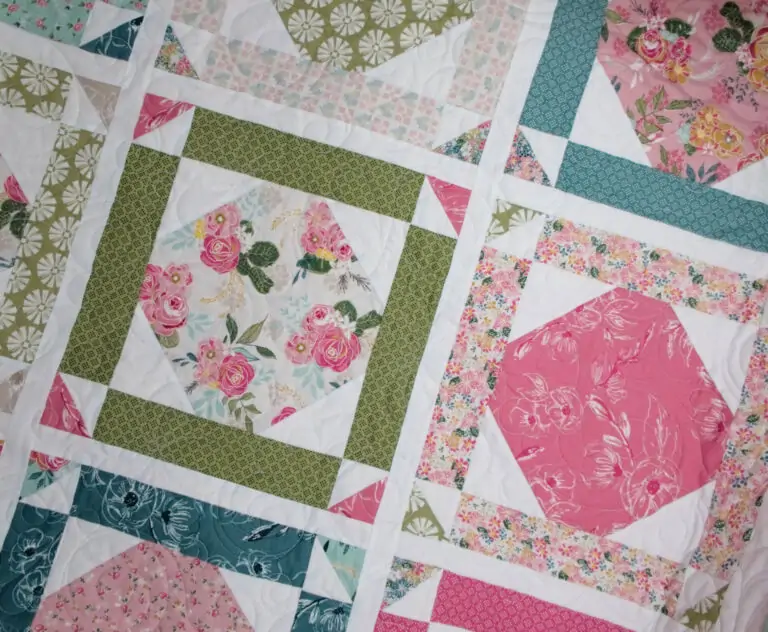
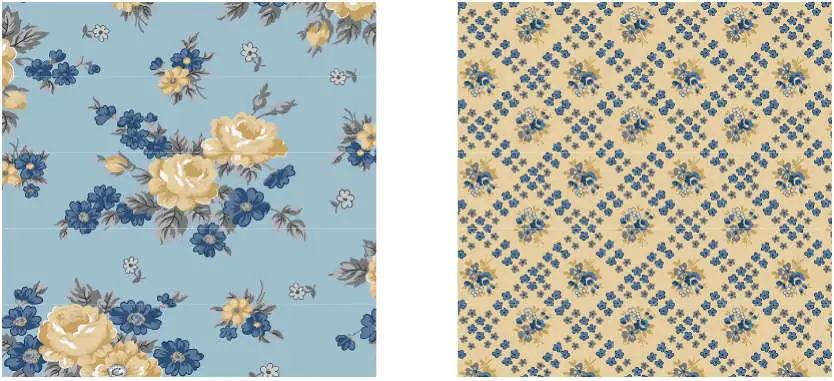
The layer cake I used for the quilt pictured below is from a fabric collection by Gerri Robinson at Planted Seed Designs. It is actually one of her older fabric collections and had been tucked away in my stash for far too long. It is from the Charming collection. However, many of her fabric lines include floral elements and beautiful blues and grays with touches of yellow or pink. The Delightful layer cake by Gerri Robinson makes a perfect substitution. Nevertheless, any layer cake will work in this project.
How to Make the Hourglass Block
Firstly, choose 36 fabric squares and pair them up so that colors contrast nicely. You are going to sew the blocks you pair up into Hourglass blocks using the instructions below. Take a little time to make sure that the same fabric patterns and colors do not end up in a single block. Each pair of fabric squares will make 2 Hourglass blocks. In the end, you will have a total of 36 Hourglass blocks. You only need 35. Save the extra one and work it into the quilt backing (our pattern includes instructions) or make a throw pillow. Get creative!
Make it Your Own
I like the look of the finished quilt top made using the layout above. However, if you want each block to include 4 different fabrics rather than 2, you can complete Steps 1 through 3 first. Then, move on to Step 4 mixing and matching all of your HST blocks as you like. This technique will make a very scrappy quilt.
Likewise, you could also add a bit of sashing between the blocks and rows if the fabric you’re using makes the top too busy for your taste. Let’s get started with the basics and then you can jazz it up as you see fit.
Step by Step
Total Time:
-
Choose fabric
Choose two of the 10-inch blocks that you paired together earlier. Lay one on top of the other with the fabric right-sides together (RST).
-
Make 2 Half-Square Triangle (HST) blocks
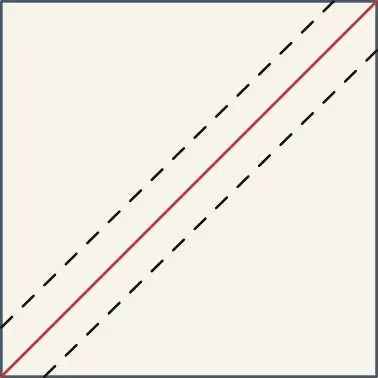
Draw a diagonal line on the fabric (red). Sew 1/4″ on either side of the drawn line. Alternatively, you can use the Creative Grids 15″ Seam Guide Tool which allows you to draw your sew lines. I actually prefer to use this tool because I find it easier to sew on the lines, then use a ruler to cut 1/4″ away from one of the sew lines.
-
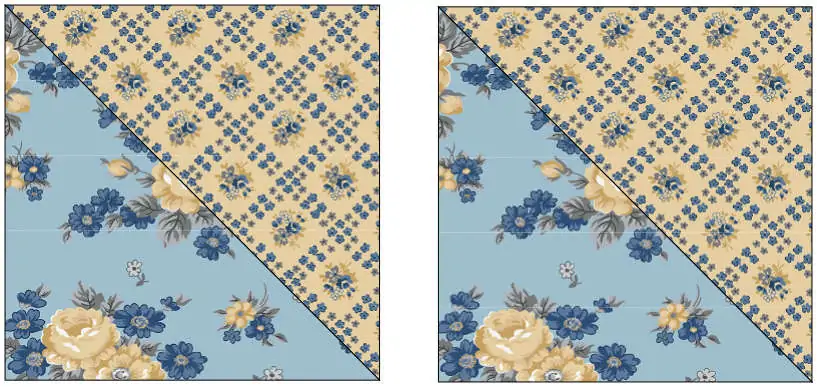
Cut on Diagonal
Cut on the diagonal (red line in Step 2) to reveal two HST blocks. Press both open toward the darker fabric. Always pressing toward the same fabric will allow you to more easily nest the seams in Step 4.
-
Prepare to make 2 Hourglass blocks
Lay the HST blocks from Step 3 together RST. Make sure that opposite fabrics touch. So in this example, the gold fabric would lie on top of the blue fabric. Nest the diagonal seams.
Now, draw another diagonal line (red) which intersects the seam you just sewed. Sew 1/4″ on either side of the drawn line. (You can also use the Creative Grids 15″ Seam Guide Tool for this step just as it was used in Step 2).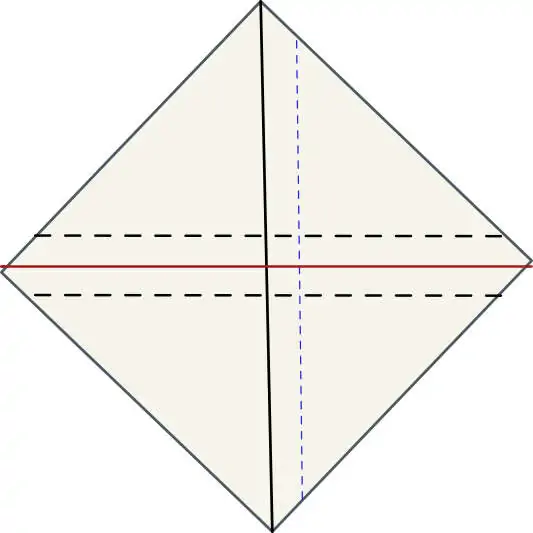
-
Open to reveal 2 Hourglass blocks
Cut on the diagonal (red line in Step 4) and press the two blocks open. You will now have your first two Hourglass blocks. Square the blocks to 10-1/2 inches. This will make it easier to assemble the top.
Repeat Steps 1 through 5 until you have 35 Hourglass blocks.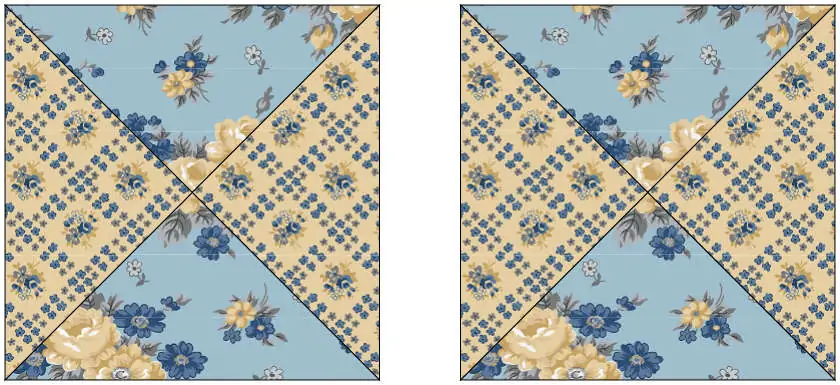
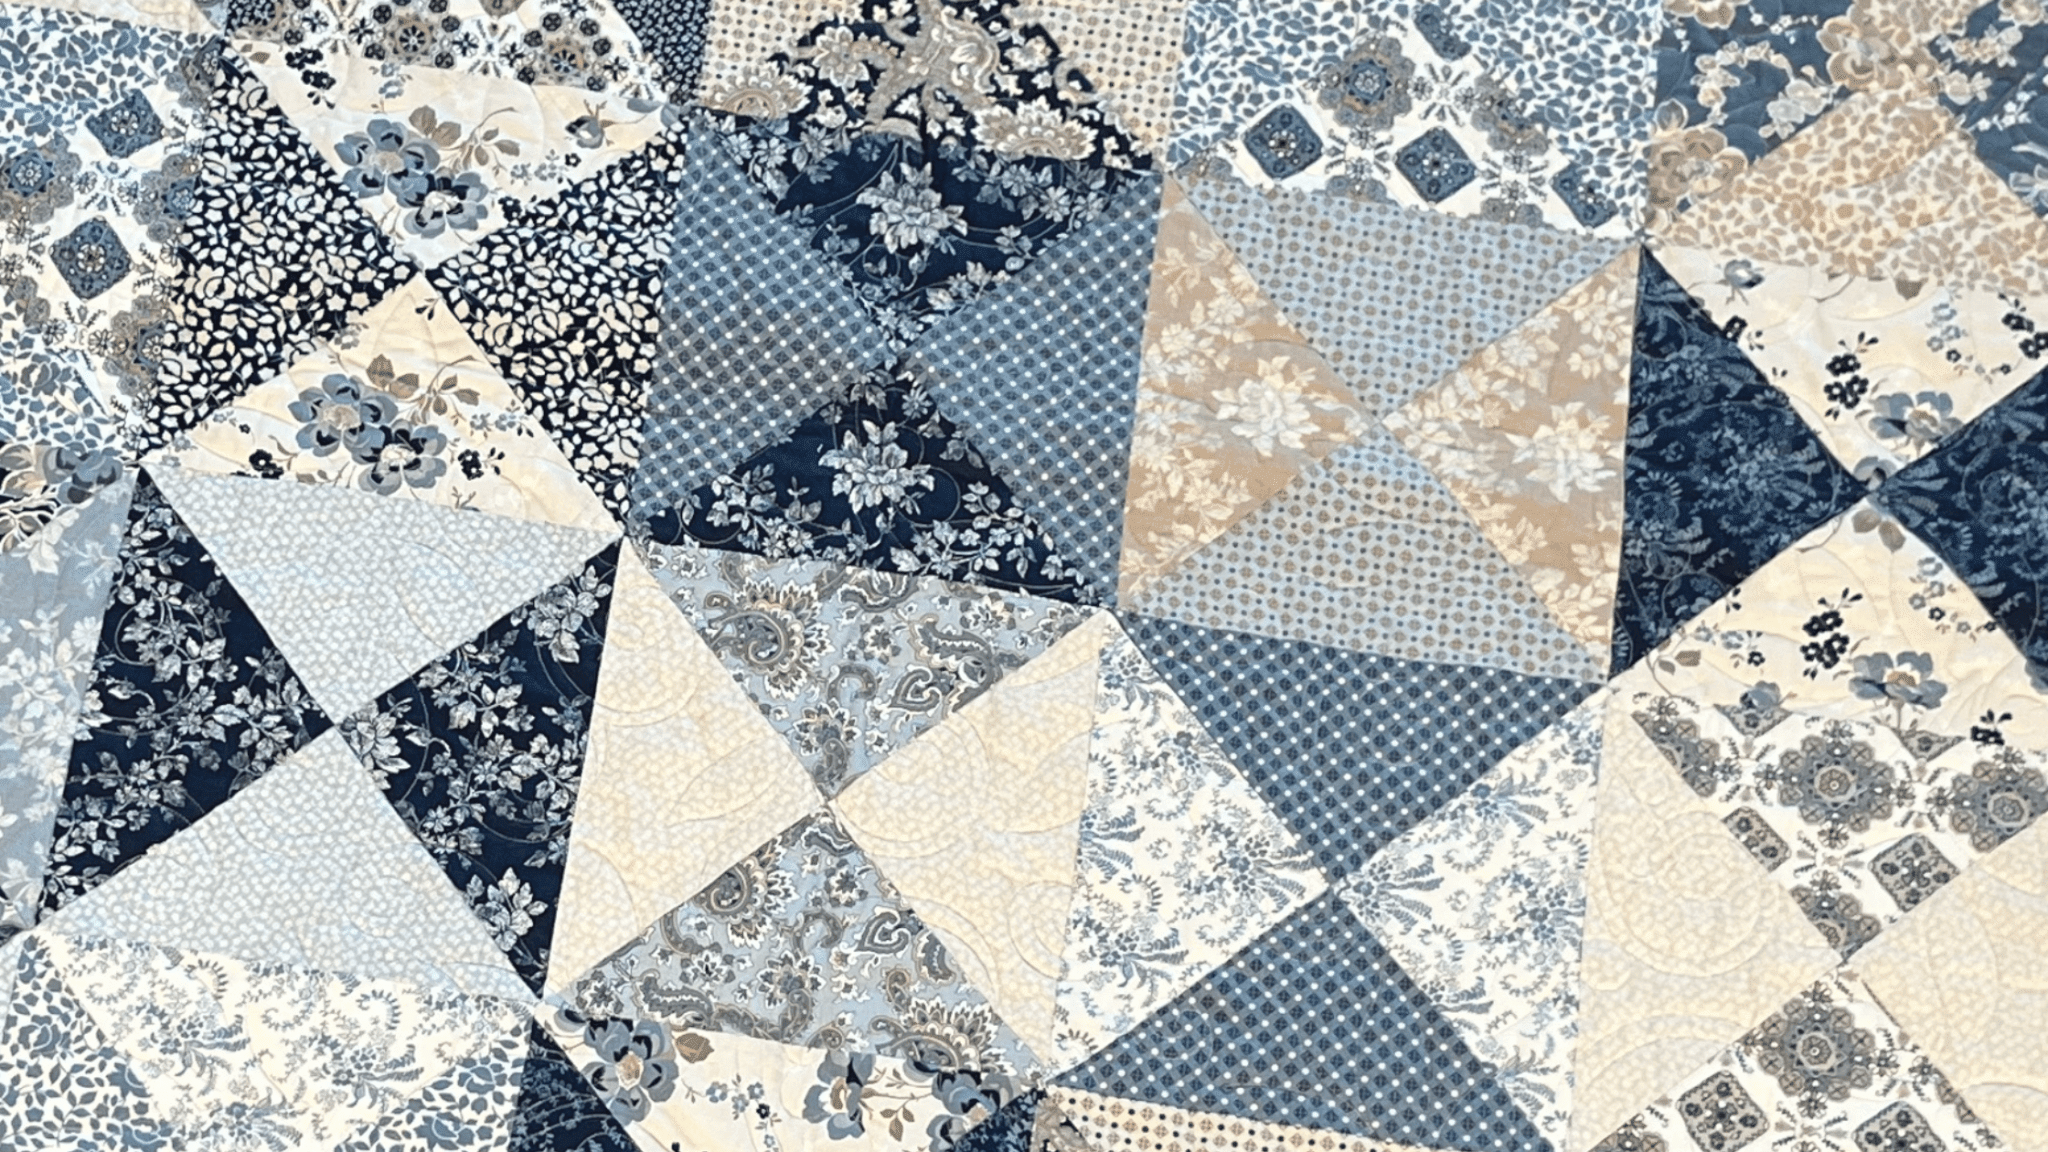
Assemble the Use-It-Up Layer Cake Hourglass Quilt Top
Once you have finished making your Hourglass blocks, lay them out on a flat surface or hang on a design wall. Lay the blocks out with 5 blocks per row and 7 blocks per column to achieve the size noted above. Now, begin sewing the blocks together.
Start with the top row. Sew the blocks together left to right and press all seams in the same direction. In like manner, sew the other rows together, but press all the seams in the opposite direction as the first row. Continue until all blocks have been sewn into rows.
Now sew the rows together from top to bottom. Be sure to nest the seams as you go so that your points meet as perfectly as possible.
How to Use the Leftover Fabric
You will have one Hourglass block leftover. I sewed it into the backing of my quilt. I won’t go into details here, but the instructions are included in the full pattern.
Also, you will also have six 10-inch squares of fabric that you set aside prior to sewing your first block. Cut each 10-inch fabric square into four 2-1/2 X 10-inch strips. Sew the strips end to end and include with additional fabric to use in binding the quilt or use the strips to create borders like we did. Detailed instructions for re-creating the borders like we did are included in the full pattern as well.
One of the best things about this pattern is that there are so many creative ways to use the leftovers. Use the leftovers to create a label. Add the leftovers to your binding fabric. Add unique borders. Basically, give the quilt your own unique touch when using the leftover Layer Cake fabric.
Purchase the Pattern
If you prefer a complete pattern, we have both downloadable and printed versions.
The full pattern includes
- List of all fabric requirements (blocks, borders, binding, backing)
- Instructions to make blocks and assemble the quilt top
- Full-color diagrams
- Additional instructions for sewing the borders, backing, and binding
More Use-It-Up Layer Cake Patterns
Take a look at our Use-it-Up Layer Cake Snowball Quilt blog post.
Try Our Use-it-Up Jelly Roll Patterns
Take a look at our Use-it-Up Jelly Roll Pudding & Pie Quilt blog post.