the Vintage Snowball Quilt Block: Simple But Stunning
- How to Sew the Nine-Patch Quilt Block
- Perfect Flying Geese Blocks Every Time
- the Vintage Snowball Quilt Block: Simple But Stunning
I’ll be the first to admit it. I have not always been a fan of the Snowball Quilt block. I mean, it’s not very exciting. Take a piece of printed fabric or a piece of solid fabric and sew little triangles of fabric to each of the four corners.

It’s such a simple block that, like me, you might not appreciate it for it’s possibilities. But, simple can be stunning. This little block can stand alone in a quilt top or make other blocks shine. It is a vintage design that you can find in hundreds of quilts.
Master the vintage snowball quilt block and you will find endless uses for this versatile little block.
The Simplicity of the Snowball Quilt Block
I’m learning to love the simplicity of the Snowball block and embrace what I once thought was boring. What changed my mind?
- It is a simple, easy block to create
- A layer cake or charm pack makes the perfect starting point for these blocks
- It makes a great alternate block in a quilt
- It makes an easy fussy cut block
- It is stunning by itself or combined with other blocks
Just a Little History . . .
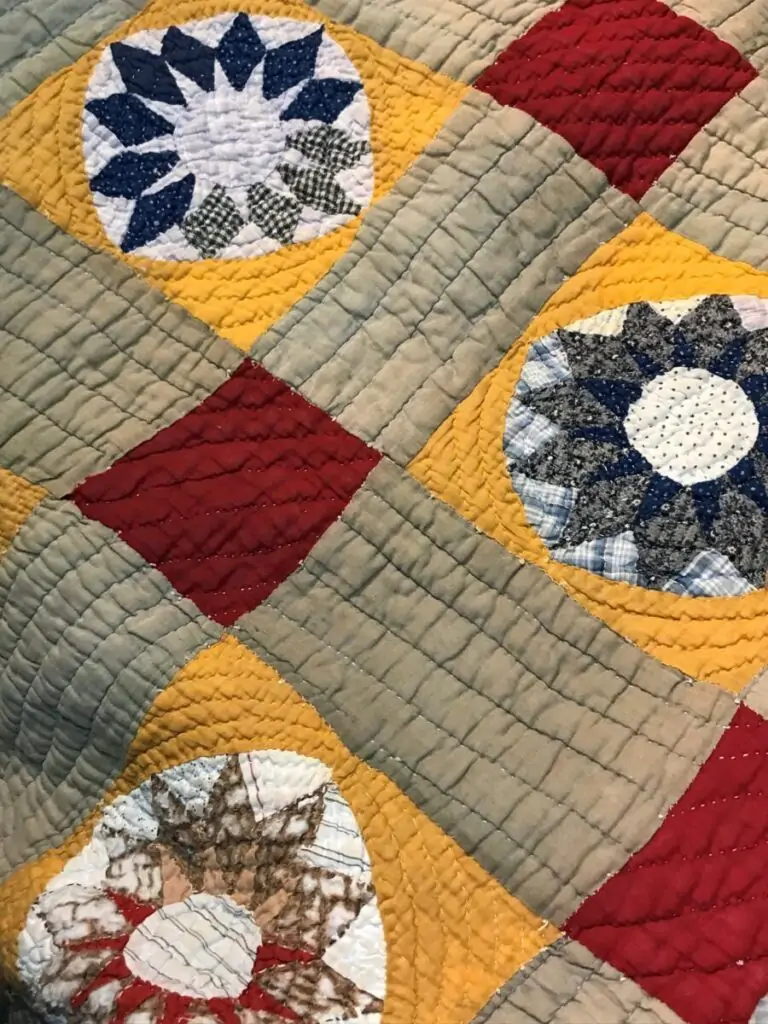
The Snowball block pattern dates back to the 17th century. Based on the information I’ve found, it was and perhaps still is a popular Amish quilt block. From a distance the block looks round due to the optical illusion created by its 8 sides. Adding triangles to the corners of a square is a technique used to make a block look round without actually sewing curved fabric pieces together. And the technique is often referred to as ‘snowballing’.
Where did the name ‘Snowball’ originate? Apparently, quilt blocks during the 1800’s were often named for everyday items. You are, no doubt, familiar with other blocks that have names derived from daily life such as the Churn Dash, Log Cabin, and Bear’s Paw blocks.
How to Use the Snowball Quilt Block
Album Block
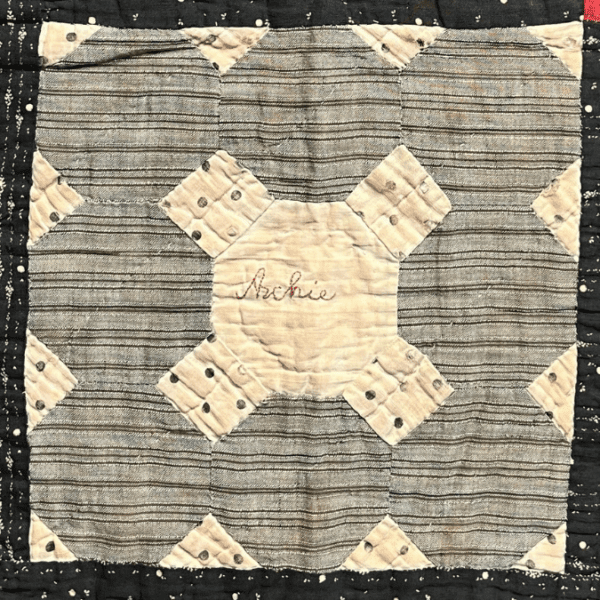
One of the most creative uses of the Snowball block is as an album block. Album blocks were often used for signatures. The photo below is an example of the ‘Snowballs’ block as it would have been used in an album quilt.
Groups of quilters often used the large blank area in the middle of this block to add their names or messages. The quilts were given as wedding gifts, anniversary gifts, or going away gifts in some cases.
Alternate Block
An alternate block is used in a quilt top to accentuate the other blocks in the top. It is the plain and simple block that lets the other blocks shine.
When used as an alternate block, the Snowball block gives your eyes a place to rest when looking at what might otherwise be a busy quilt top. It provides negative space.
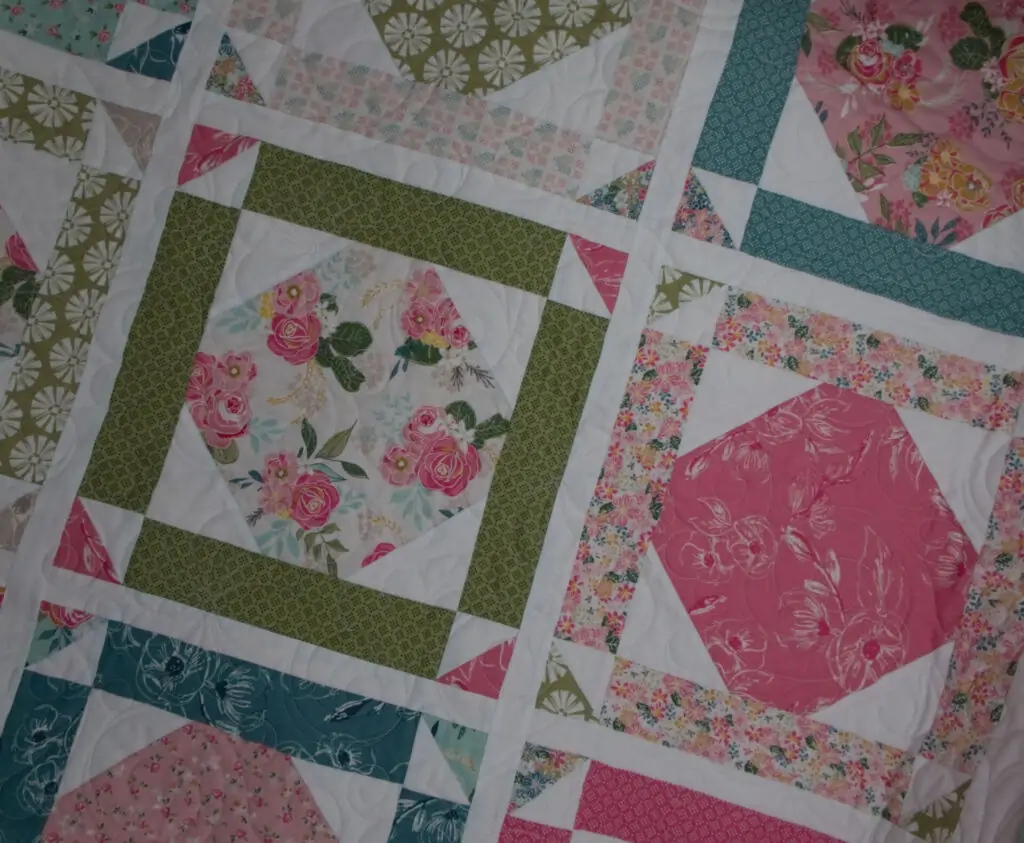
The quilt on the left combines Snowball blocks and Nine-Patch blocks creating a lattice pattern. The quilt in the middle combines Snowball blocks and Shoo-Fly blocks. The quilt at the far right combines Snowball blocks and Ohio Star blocks creating a ‘star-in-a-star’ illusion.


Fussy Cut Block
A Snowball block is perfect if you have novelty fabrics. Fussy cut your fabric into a square and snowball the corners. It’s the perfect way to showcase a fun print.

Examples of Snowball Quilt Blocks
The blocks pictured below show different ways of combining Snowball blocks and one which is an example of a simple Snowball. The simple Snowball pattern was published in the Kansas City Star newspaper in 1930 as ‘The Marble Floor’.
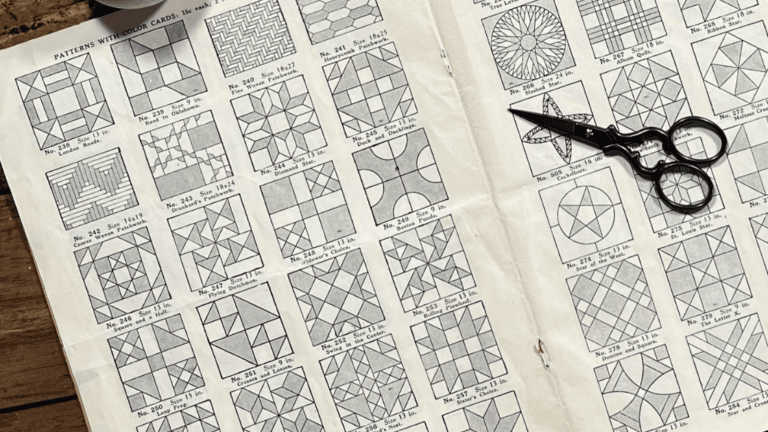
Learn more about all of the block patterns pictured below in Barbara Brackman’s Encyclopedia of Pieced Quilt Patterns.


The ‘Snowball’ Technique
As you study other vintage quilt blocks, you will find many that use the technique of ‘snowballing’ the corners of rectangles and squares like the three blocks shown below.
Reference information for the blocks pictured below was found in Barbara Brackman’s Encyclopedia of Pieced Quilt Patterns.


How to Make the Vintage Snowball Quilt Block
The steps below will show you how to make a basic 6″ finished ‘Marble Floor’ block. See the end of this post for additional size options.
I used the Creative Grids® Folded Corner Clipper Tool because it was recommended by a customer I met at a recent quilt show. She swore by it for Snowball blocks, HST blocks, and Flying Geese.
I had my doubts at first and thought ‘why do I need yet another tool’? But, with such a positive testimonial, I had to try it. So, I tried it. And I’m going to use it when making Snowball blocks all the time now.
You don’t need the tool to make Snowball blocks, but it does help with precision.
I’ve inserted a picture below that compares the sewn line when using sewn diagonal lines and what the sewn line looks like using the tool. I now understand the tip some quilters give about sewing just a ‘hair’s width’ to the right of the drawn line.


Draw a diagonal line on each of [4] 2” fabric squares (or use the Creative Grids® Folded Corner Clipper Tool ).

If you drew diagonal lines on your 2″ fabric squares, place the 2” fabric squares on each corner of the 6½” fabric square right sides of fabrics together (RST). *Make sure the lines are positioned as in photo.
Sew along the right edge of each of the diagonal lines.
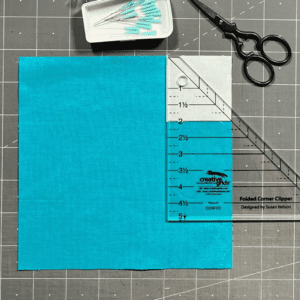
If you’re using the Creative Grids® Folded Corner Clipper Tool line up the 2″ markings on the ruler with the outside edges of the 2″ square.
*The Corner Clipper has a flat edge at the top of the tool. Make sure the flat edge lines up with the top of the 2″ fabric square and the 2″ mark on the ruler lines up with the lower right corner of the fabric square.

Cut the corner of the square, then sew 1/4″ from the cut edge.

I used the Creative Grids® Folded Corner Clipper Tool on the 2″ fabric squares on which I had drawn diagonal lines. The close-up shows that a 1/4″ seam works best if it is sewn slightly to the right of the drawn line.
I think this is why using the Creative Grids® Folded Corner Clipper Tool adds precision. It’s difficult to sew in exactly the right space when you are working with a line you’ve drawn.

Once you have sewn all the corners, gently press the corners back to reveal your Snowball Block.
Supply:
- [1] 6½” fabric square
- [4] 2” fabric squares
Tools:
- Rotary Cutter
- Creative Grids® Folded Corner Clipper Tool
Additional Block Sizes
There will come a time when you want a Snowball Block that is not a 6½” unfinished block. See the size suggestions below. If you need a different size, try dividing the unfinished block size by 4 then adding 1/2″. Then, round up or down to the nearest 1/2″. It’s a rough calculation that works pretty well.
8½” unfinished block > [1] 8½” fabric square + [4] 2½” fabric squares
5″ unfinished block > [1] 5″ fabric square + [4] 1¾” fabric squares
10″ unfinished block > [1] 10″ fabric square + [4] 3″ fabric squares
Tools Used in This Post
Make a Snowball Block & HST At once
Our Use-it-Up layer Cake Snowball Pattern shows you how to make both the Snowball Blocks and the HST blocks seen in the photo below. Better yet, the technique we use lets you sew an HST unit every time you sew a corner of the Snowball. The HST units are then used in the quilt.
Do you have a Layer Cake that you’ve been saving for just the right pattern? Our Use-It-Up Layer Cake Snowball Pattern won’t waste any of that precious fabric. And it allows you to showcase large prints. Click here to see how we made it.
